The Ultimate Pear Upside Down Cake: A Stunning Fall Dessert That’s Easier Than You Think
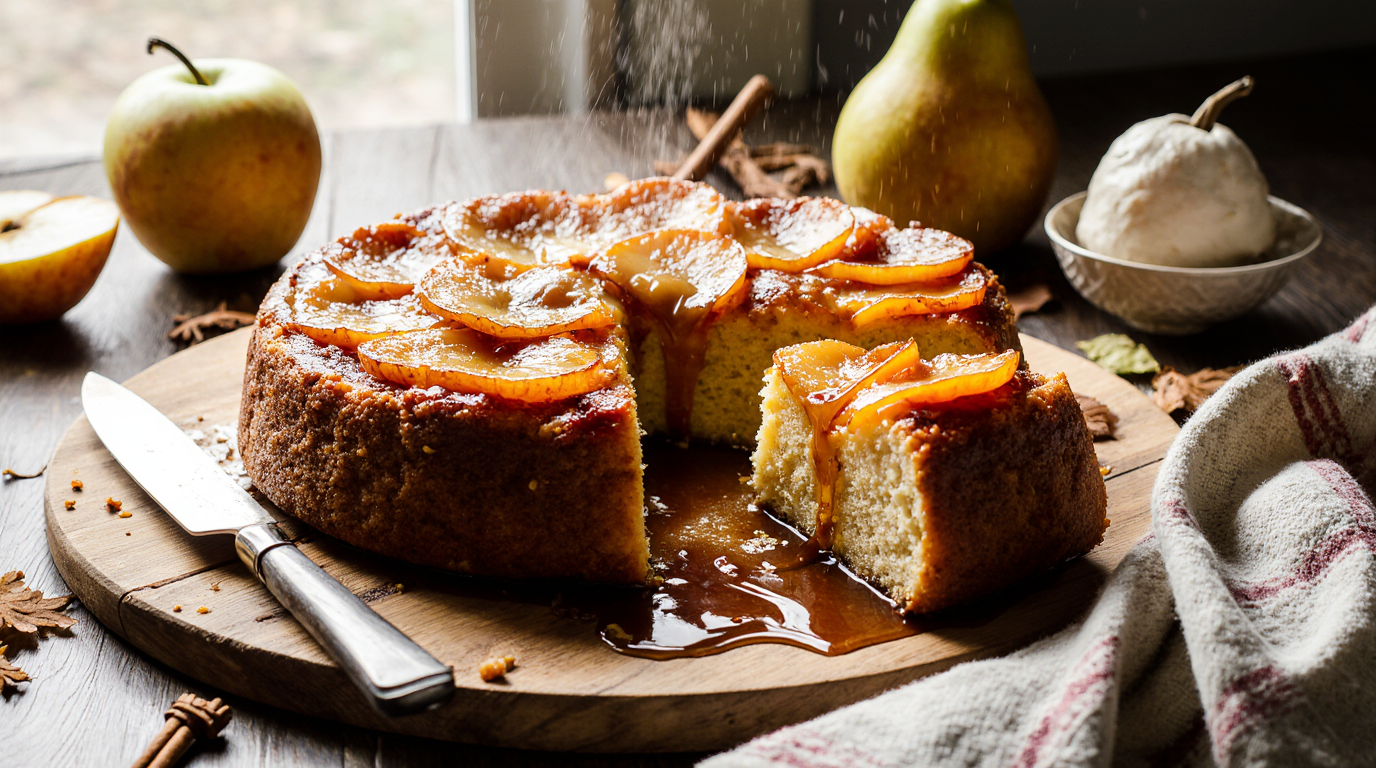
There’s something absolutely magical about flipping a cake pan and revealing a gorgeous caramelized pear cake underneath. This pear upside down cake transforms humble fresh pears into an elegant dessert that looks like it came straight from a French patisserie. The golden caramelized fruit creates a stunning pattern on top while the tender, buttery cake beneath provides the perfect complement to the sweet, jammy pears.
I first discovered this recipe during a particularly abundant pear harvest from my neighbor’s tree. With bags of ripe Bartlett pears weighing down my kitchen counter, I needed something special that would showcase their natural sweetness and delicate flavor. Traditional pineapple upside down cake is wonderful, but I wanted something that captured the essence of autumn. This brown sugar pear cake became an instant family favorite and has been my go-to fall dessert ever since.
What makes this pear dessert recipe so special is its perfect balance of flavors and textures. The bottom layer features thinly sliced pears nestled in a rich brown sugar caramel that bubbles and darkens as it bakes, creating an irresistible sticky-sweet coating. The cake itself is tender and moist, with hints of vanilla and warm spices that complement the fruit beautifully. Unlike complicated desserts that require special techniques or hard-to-find ingredients, this easy fall dessert comes together with simple pantry staples and basic baking skills.
Whether you’re hosting a dinner party, bringing dessert to a potluck, or simply want to treat your family to something special, this pear upside down cake never fails to impress. The dramatic presentation makes it look far more difficult than it actually is, and the incredible aroma that fills your kitchen while it bakes is just an added bonus.
Table of Contents
Quick Recipe Facts
Prep Time: 20 minutes
Cook Time: 45 minutes
Total Time: 1 hour 5 minutes
Servings: 8-10 slices
Difficulty: Easy to Moderate
Calories: Approximately 320 per slice
Ingredients
For the Caramelized Pear Topping:
- 4 tablespoons unsalted butter
- ½ cup packed light brown sugar
- 2 tablespoons heavy cream
- ¼ teaspoon salt
- 4-5 medium ripe pears (Bartlett or Anjou work best)
- 1 teaspoon fresh lemon juice
For the Cake Batter:
- 1⅓ cups all-purpose flour
- 1 teaspoon baking powder
- ½ teaspoon salt
- ¼ teaspoon ground cinnamon
- ¼ teaspoon ground nutmeg
- ⅓ cup unsalted butter, softened
- ⅔ cup granulated sugar
- 2 large eggs, room temperature
- 1 teaspoon vanilla extract
- ⅔ cup whole milk, room temperature
- 2 tablespoons sour cream
Alternative Ingredients:
- Pears: You can substitute with Bosc, Comice, or even firm Granny Smith apples
- Heavy cream: Half-and-half or whole milk works in a pinch
- Sour cream: Greek yogurt or buttermilk make good substitutes
- Spices: Try cardamom, allspice, or ginger for different flavor profiles

Looking for a stunning fresh pear recipe? This caramelized pear dessert idea will become your go-to fall favorite.
Instructions
- Preheat and prepare your pan. Set your oven to 350°F (175°C). Choose a 9-inch round cake pan or cast-iron skillet – the heavy bottom of cast iron actually works beautifully for even caramelization. Grease the sides lightly with butter, but don’t grease the bottom since the caramel layer will prevent sticking.
- Create the caramel base. In your chosen pan, melt the 4 tablespoons of butter directly on the stovetop over medium heat. Once melted, stir in the brown sugar, heavy cream, and salt. Let this bubble gently for 2-3 minutes until it becomes fragrant and slightly thickened. The mixture should coat the back of a spoon lightly. Remove from heat and spread evenly across the bottom of the pan.
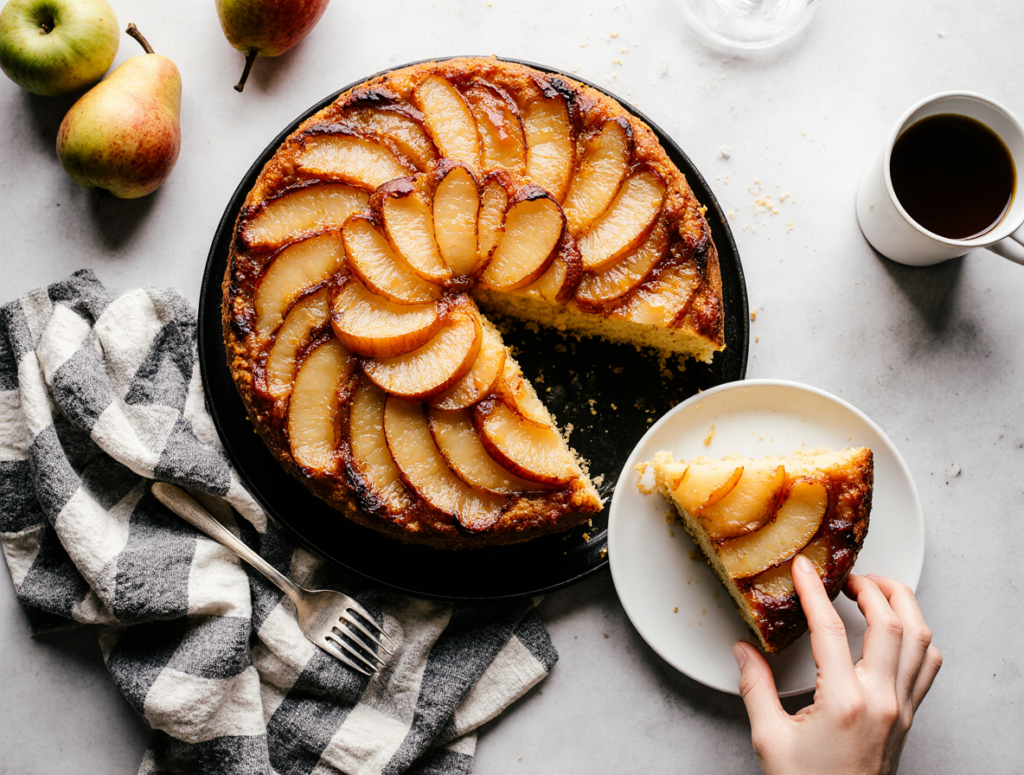
- Prepare the pears. Peel your pears and cut them into ¼-inch thick slices, removing the cores. Toss the slices gently with lemon juice to prevent browning and add a subtle brightness that balances the sweetness. Arrange the pear slices in overlapping concentric circles over the caramel, starting from the outside edge and working inward. Pack them fairly tightly as they’ll shrink slightly during baking.
- Mix the dry ingredients. In a medium bowl, whisk together flour, baking powder, salt, cinnamon, and nutmeg. This ensures even distribution of the leavening agents and spices throughout the cake. Set aside while you prepare the wet ingredients.
- Cream butter and sugar. Using an electric mixer or wooden spoon, beat the softened butter with granulated sugar until light and fluffy, about 3-4 minutes. This incorporates air into the batter, which helps create the cake’s tender texture. The mixture should be noticeably paler in color.
- Add eggs and vanilla. Beat in eggs one at a time, making sure each is fully incorporated before adding the next. Mix in vanilla extract. The batter might look slightly curdled at this point, which is completely normal and will smooth out when you add the dry ingredients.
- Combine wet and dry ingredients. Alternately add the flour mixture and milk to the butter mixture, beginning and ending with flour. Mix just until combined – overmixing develops gluten and creates a tough cake. Fold in the sour cream, which adds extra moisture and a subtle tang that complements the sweet pears beautifully.
- Assemble and bake. Carefully spoon the batter over the arranged pears, spreading gently to avoid disturbing the fruit pattern. The batter will seem thick, but it will level out during baking. Bake for 40-45 minutes, until the cake is golden brown and a toothpick inserted into the cake portion (not the fruit) comes out clean or with just a few moist crumbs.
- Cool and flip. Let the cake cool in the pan for exactly 10 minutes – no longer or the caramel will set too firmly and make flipping difficult. Run a thin knife around the edges to loosen any stuck bits. Place a serving plate upside down over the pan, then quickly but confidently flip both together. Let the pan rest on top for 2-3 minutes before lifting it off slowly. If any pear slices stick to the pan, simply arrange them back on the cake.
Pro Tips
Choose the right pears for best results. Bartlett and Anjou pears work wonderfully because they hold their shape while becoming tender. Avoid overripe pears that will turn mushy, but don’t use rock-hard unripe ones either. The fruit should yield slightly to gentle pressure and smell fragrant at the stem end.
Don’t skip the sour cream in the batter. This secret ingredient adds incredible moisture and a subtle tang that prevents the cake from being overly sweet. It also helps create a more tender crumb that pairs beautifully with the caramelized fruit.
Timing is everything for the flip. The 10-minute cooling period is crucial – too short and the cake might break apart, too long and the caramel hardens and makes the pears stick to the pan. Set a timer and don’t get distracted by cleanup.
Make the caramel layer evenly distributed. When melting the butter and brown sugar mixture, take time to spread it evenly across the pan bottom. Uneven caramel creates uneven browning and can cause some areas to burn while others remain pale.
Arrange pears with intention. Take a moment to create an attractive pattern with your pear slices. Overlapping concentric circles look professional, but you can also try fan patterns or even random arrangements. Just make sure pieces are relatively uniform in thickness for even cooking.
Test doneness carefully. Since the fruit topping makes visual cues harder to read, rely on the toothpick test and look for edges that are pulling slightly away from the pan sides. The top should be golden brown and spring back lightly when touched.
Serving Suggestions
This caramelized pear cake is stunning on its own, but a few thoughtful accompaniments can elevate it even further. Serve each slice with a dollop of freshly whipped cream or a scoop of vanilla bean ice cream. The cool, creamy contrast against the warm, caramelized fruit is absolutely divine.
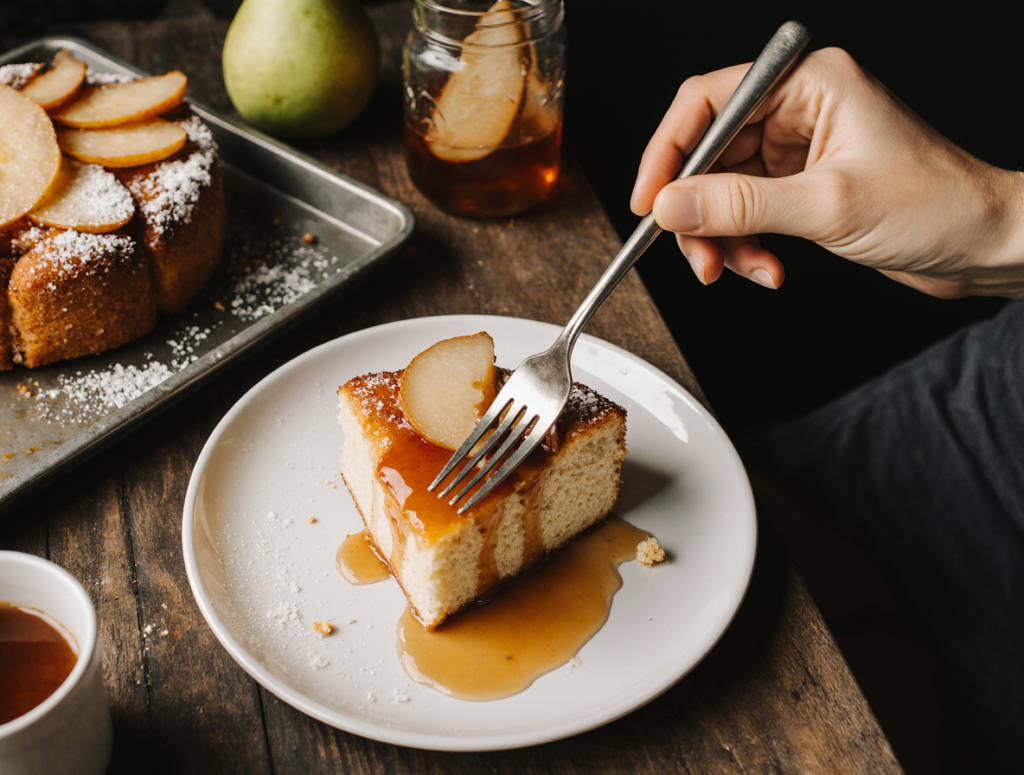
For special occasions, try drizzling individual slices with a simple caramel sauce or even a splash of bourbon or brandy for adult gatherings. A light dusting of cinnamon or a few toasted chopped walnuts adds lovely texture and visual appeal.
This dessert pairs beautifully with coffee, black tea, or even a glass of dessert wine like Moscato or late-harvest Riesling. For a cozy autumn dinner party, consider serving it alongside other fall flavors like apple cider or spiced chai.
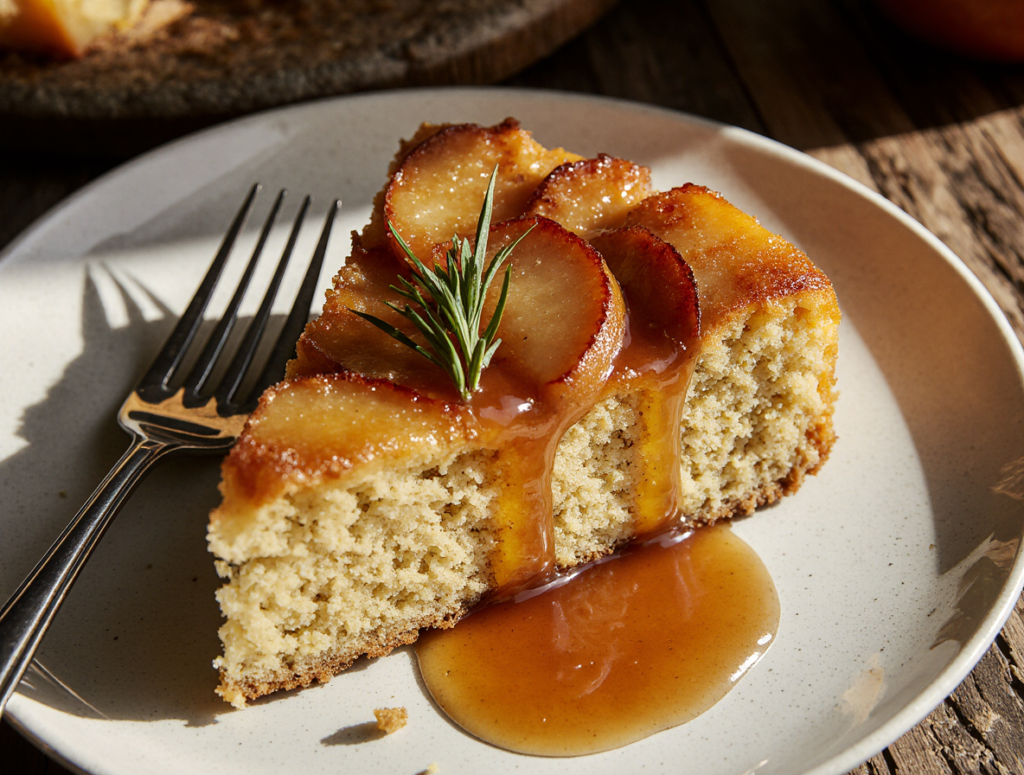
The presentation is naturally elegant, but you can dress it up further by arranging a few thin pear slices and a sprig of fresh thyme or rosemary around the plate. A light dusting of powdered sugar just before serving adds a touch of sophistication.
Ready to try this amazing fresh pear recipe? This foolproof pear dessert idea will have you making perfect pear upside down cake like a pro.
Storage & Reheating
Store leftover pear upside down cake covered at room temperature for up to three days, or refrigerate for up to a week. The cake actually improves after a day as the flavors meld together and the caramel continues to penetrate the fruit.
For longer storage, wrap individual slices tightly in plastic wrap and freeze for up to three months. Thaw frozen slices overnight in the refrigerator before serving or reheating.
To reheat, warm individual slices in the microwave for 20-30 seconds, or place the whole cake in a 300°F oven for 10-15 minutes until just warmed through. Avoid overheating, which can make the pears mushy and the cake dry. Room temperature slices are also delicious and many people actually prefer the texture this way.
If the caramel layer seems to have absorbed too much into the cake during storage, you can brush the top lightly with warm honey or maple syrup before serving to restore some of that glossy, sticky appeal.

This beautiful homemade pear treat showcases why this fresh pear recipe is the best pear dessert idea for making pear upside down cake.
Health & Nutrition Information
While this pear upside down cake is definitely an indulgent dessert, it does offer some nutritional benefits thanks to the fresh fruit. Pears provide dietary fiber, vitamin C, and potassium, while the moderate portion sizes keep calories reasonable at around 320 per slice.
For those with dietary restrictions, this recipe can be adapted in several ways. Use gluten-free flour blend in place of all-purpose flour for celiac-friendly version. Dairy-free butter and non-dairy milk work well for lactose-intolerant guests, though you may need to add an extra tablespoon of milk as dairy-free alternatives can be slightly thicker.
To reduce sugar content, you can decrease the brown sugar in the caramel layer to ⅓ cup and the granulated sugar in the cake to ½ cup, though this will create a less intensely caramelized topping. The natural sweetness of ripe pears helps compensate for some of the reduced sugar.
This cake contains eggs and dairy, and the standard version is not suitable for vegan diets. However, egg substitutes and plant-based alternatives can work with some experimentation, though results may vary slightly in texture.

From simple ingredients to spectacular homemade pear treat – this fresh pear recipe is the perfect pear dessert idea for mastering pear upside down cake.
Why You Need to Try This Recipe Today
This pear upside down cake represents everything wonderful about home baking – it transforms simple ingredients into something truly spectacular while filling your kitchen with the most incredible aromas. The combination of tender, spiced cake and glossy caramelized pears creates a dessert that’s both comforting and elegant enough for special occasions.
What I love most about this recipe is how it celebrates the natural beauty and flavor of fresh pears. Too often, pears get overshadowed by apples in fall baking, but this cake puts them center stage where they truly shine. The brown sugar caramel enhances their delicate sweetness without overwhelming it, creating a perfect harmony of flavors.
The best part? This impressive-looking dessert is actually quite forgiving for home bakers. Even if your pear arrangement isn’t perfect or your flip technique needs work, the end result will still be absolutely delicious. I encourage you to try this recipe during pear season and make it your own by experimenting with different pear varieties or spice combinations.
I’d love to hear about your experience making this cake! Please leave a comment below sharing how it turned out, any modifications you made, or what you served alongside it. Don’t forget to rate the recipe – your feedback helps other bakers decide whether to give it a try. For more seasonal dessert recipes and baking tips, follow along on social media where I share behind-the-scenes moments from my kitchen and answer your baking questions.
Looking for more fall dessert inspiration? Check out my recipes for classic apple crisp, spiced pumpkin bread, and maple pecan tart for a complete autumn dessert repertoire.
Frequently Asked Questions
Can I make this pear upside down cake ahead of time?
Absolutely! This cake actually benefits from being made a day ahead, as the flavors have time to meld and develop. Bake and flip the cake as directed, then cover tightly and store at room temperature. The texture remains perfect, and some people even prefer it after the caramel has had time to soak into the cake slightly. You can make it up to two days ahead for parties or special occasions.
What’s the best type of pear to use for this recipe?
Bartlett and Anjou pears are my top choices because they hold their shape well while becoming tender and sweet during baking. They should be ripe but still firm – you want them to yield slightly to gentle pressure but not be soft or mushy. Bosc pears also work beautifully and hold their shape even better, though they’re a bit firmer in texture. Avoid Asian pears or very hard unripe pears, as they won’t soften properly during the baking time.
Help! My cake stuck to the pan when I tried to flip it. What went wrong?
The most common cause is waiting too long before flipping – the caramel hardens as it cools, making the pears stick. Always flip at exactly 10 minutes of cooling time. If it does stick, don’t panic! You can usually rescue it by gently removing stuck pieces with a spatula and arranging them back on the cake. For future attempts, make sure your caramel layer covers the entire bottom of the pan and consider using a well-seasoned cast iron pan or non-stick surface.
Can I substitute other fruits in this upside down cake recipe?
Yes! This recipe works wonderfully with apples, peaches, or even a mixture of fruits. Apples should be sliced similarly to pears and will need the same baking time. Peaches work beautifully but may release more juice, so you might want to pat them dry before arranging. Stone fruits like plums or apricots also work, though adjust the sugar slightly as some fruits are more tart than others. The key is using fruits that hold their shape when baked.
Can I freeze this cake, and how should I thaw it?
This pear upside down cake freezes very well for up to three months. Wrap the cooled cake tightly in plastic wrap, then in foil, or cut into individual slices and wrap separately for easier serving. To thaw, move the wrapped cake to the refrigerator overnight. For quicker thawing, leave individual slices at room temperature for about an hour. You can serve it at room temperature or warm it gently in a low oven. The texture remains excellent after freezing, making this a great make-ahead dessert for holidays.
Have You Tried Our Recipe?
There are no reviews yet. Be the first one to write one.

