The Ultimate Moist Coconut Cake Recipe: A Tropical Paradise in Every Bite
There’s something undeniably magical about the combination of fluffy cake layers and rich coconut flavor that transports you straight to a tropical paradise. This coconut cake recipe has been my go-to dessert for special occasions, family gatherings, and those moments when you simply crave something extraordinary. What makes this particular recipe stand out is its incredible moisture content and the perfect balance of coconut flavor that’s present in every single bite without being overwhelming.
I first discovered this recipe during a summer spent with my grandmother in Florida, where fresh coconuts were abundant and the humid weather called for light, refreshing desserts. She taught me that the secret to a truly exceptional moist coconut cake lies not just in the ingredients, but in the technique and timing. Over the years, I’ve refined this homemade coconut cake to perfection, incorporating modern baking science while honoring traditional methods.
Why should you make this tropical cake recipe? First, it’s incredibly versatile – perfect for birthdays, holidays, or simply when you want to treat yourself to something special. Second, unlike many coconut cakes that can be dry or one-dimensional, this recipe creates layers that are impossibly moist and bursting with coconut flavor from three different sources: coconut milk, shredded coconut, and coconut extract. Finally, it’s surprisingly approachable for bakers of all skill levels, with clear instructions and foolproof techniques that guarantee success every time.
Table of Contents
Quick Recipe Facts
Prep Time: 25 minutes
Cook Time: 30-35 minutes
Total Time: 1 hour 30 minutes (including cooling)
Servings: 12 slices
Difficulty: Intermediate
Calories: Approximately 485 per slice
Ingredients
For the Cake Layers:
- 2¾ cups (345g) all-purpose flour
- 1 tablespoon baking powder
- ½ teaspoon salt
- ¾ cup (170g) unsalted butter, softened
- 1¾ cups (350g) granulated sugar
- 4 large eggs, room temperature
- 2 teaspoons vanilla extract
- 1 teaspoon coconut extract
- 1 cup (240ml) full-fat coconut milk
- ½ cup (120ml) whole milk
- 1 cup (85g) sweetened shredded coconut
For the Coconut Cream Cheese Frosting:
- 12 oz (340g) cream cheese, softened
- ½ cup (115g) unsalted butter, softened
- 4-5 cups (480-600g) powdered sugar, sifted
- ⅓ cup (80ml) coconut milk
- 1 teaspoon vanilla extract
- ½ teaspoon coconut extract
- Pinch of salt
For Decoration:
- 1½ cups (125g) toasted coconut flakes
- Fresh coconut shavings (optional)
- Edible flowers (optional)
Instructions
- Prepare your workspace and pans. Preheat your oven to 350°F (175°C). Grease two 9-inch round cake pans with butter, then dust with flour, tapping out any excess. Line the bottom with parchment paper for foolproof release. This extra step ensures your beautiful layers come out intact.
- Mix the dry ingredients. In a medium bowl, whisk together flour, baking powder, and salt. Set aside. Proper mixing of dry ingredients ensures even distribution of leavening agents, which creates a uniform rise.
- Cream butter and sugar. In a large mixing bowl, use an electric mixer to cream the softened butter and granulated sugar for 4-5 minutes until the mixture is light, fluffy, and nearly white. This extended creaming time incorporates air and creates the cake’s tender texture.
- Add eggs and extracts. Beat in eggs one at a time, mixing well after each addition. Add vanilla and coconut extracts, beating until just combined. Room temperature eggs incorporate more easily and create a smoother batter.
- Combine the liquids. In a measuring cup, stir together the coconut milk and whole milk. The combination of both milks provides richness while maintaining the perfect consistency for mixing.
- Alternate wet and dry ingredients. Beginning and ending with the flour mixture, alternate adding the dry ingredients and milk mixture to the butter mixture in three additions. Mix on low speed until just combined after each addition – overmixing develops gluten and creates a tough cake.
- Fold in shredded coconut. Gently fold the sweetened shredded coconut into the batter using a rubber spatula. This adds texture and pockets of concentrated coconut flavor throughout the cake.
- Divide and bake. Divide the batter evenly between prepared pans, smoothing the tops with an offset spatula. Bake for 30-35 minutes, or until a toothpick inserted in the center comes out with just a few moist crumbs. The cakes should spring back lightly when touched.
- Cool completely. Allow cakes to cool in pans for 10 minutes, then turn out onto wire racks to cool completely. Rushing this step can cause the frosting to melt and slide off your cake.
- Prepare the frosting. While cakes cool, beat cream cheese and butter until smooth and fluffy, about 3 minutes. Gradually add powdered sugar, beating well between additions. Add coconut milk, extracts, and salt, beating until smooth and spreadable.
- Toast the coconut. Spread coconut flakes on a baking sheet and toast at 350°F for 5-8 minutes, stirring frequently, until golden brown. Watch carefully as coconut can burn quickly.
- Assemble the cake. Place one layer on your serving plate and spread a generous amount of frosting on top. Add the second layer and frost the top and sides. Press toasted coconut onto the sides and top for a beautiful finish.

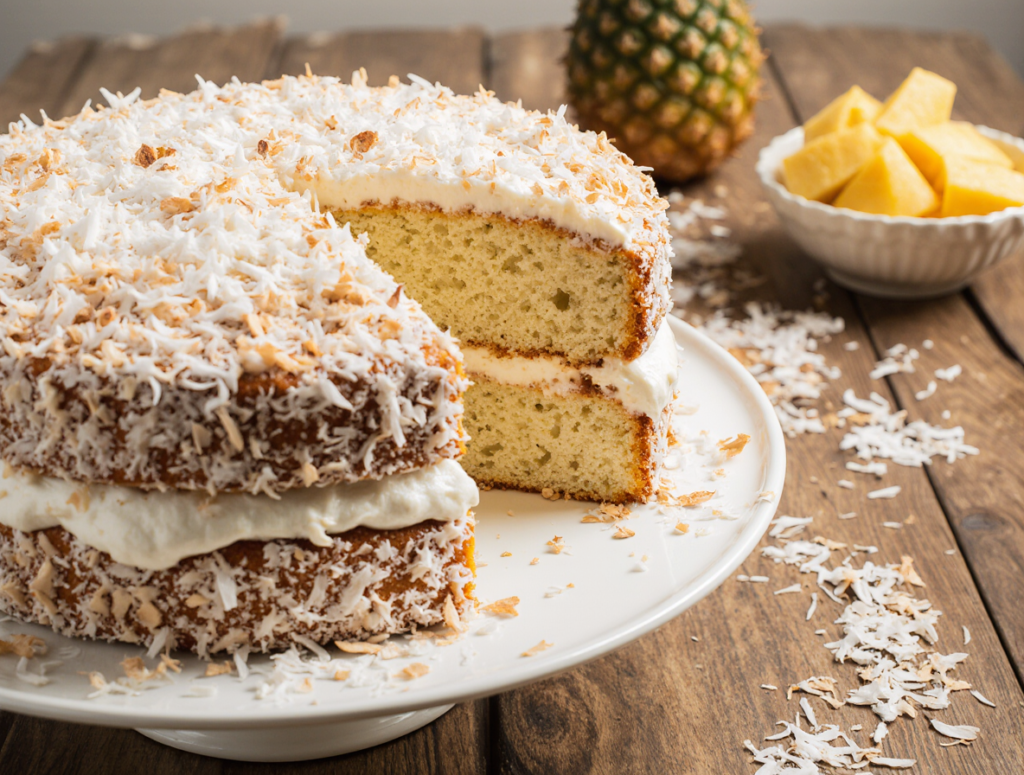
This moist coconut cake recipe creates the most tender, fluffy layers – see how this homemade coconut cake delivers bakery-perfect results!
Pro Tips
Temperature matters immensely. Ensure all dairy ingredients are at room temperature before beginning. Cold ingredients don’t mix properly and can cause the batter to curdle or create an uneven texture. Take eggs and dairy out of the refrigerator 1-2 hours before baking.
Don’t skip the coconut milk in the cake. While you might be tempted to substitute regular milk, the coconut milk provides essential fat content and flavor that makes this cake exceptionally moist. Full-fat coconut milk is crucial – light versions won’t provide the same results.
Measure flour correctly. Use the spoon-and-level method rather than scooping directly from the bag. Too much flour creates a dense, dry cake. If you have a kitchen scale, weighing ingredients is even more accurate.
Test for doneness properly. The toothpick test is reliable, but also look for visual cues: the cake should pull slightly away from the sides of the pan and spring back when lightly touched in the center.
Frosting consistency is key. If your frosting is too thick, add coconut milk one tablespoon at a time. If it’s too thin, add more powdered sugar gradually. The perfect consistency should hold its shape but spread easily.
Make ahead options. Cake layers can be baked up to two days in advance and stored wrapped in plastic wrap at room temperature. The frosted cake actually improves after a day as the flavors meld together.
Serving Suggestions
This tropical cake recipe shines as the centerpiece of any celebration. Serve it alongside fresh tropical fruits like sliced mango, pineapple, or kiwi to enhance the island paradise theme. A scoop of vanilla bean ice cream or coconut sorbet makes an excellent accompaniment, especially during warmer months.
For an elegant presentation, garnish each slice with a sprinkle of toasted coconut, a few fresh berries, or even a small orchid for special occasions. The cake pairs beautifully with coffee, particularly cold brew or iced coffee, as well as tropical cocktails like piña coladas or mai tais for adult gatherings.
Consider serving smaller portions as this is a rich, satisfying dessert. Cut into 12 generous slices for a dinner party, or 16 smaller pieces for a larger gathering. The cake looks stunning on a pedestal stand, allowing the coconut coating to catch the light beautifully.

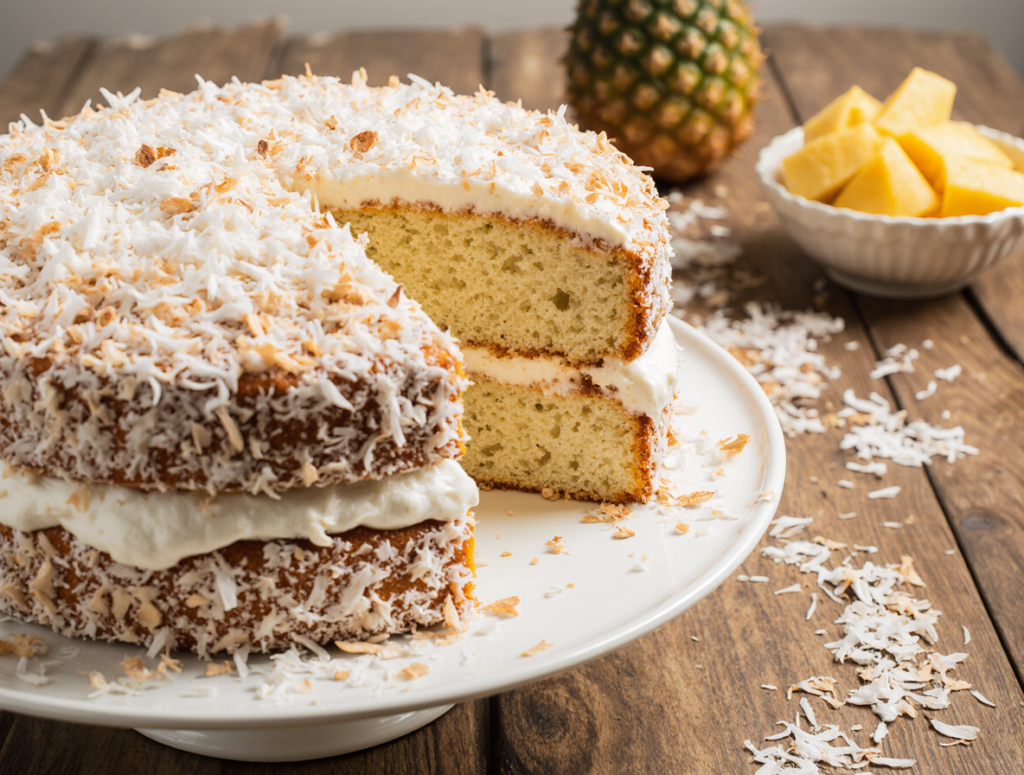
One look at this tropical cake recipe and you can see the incredible moisture and texture that makes this coconut cake recipe so special.
Storage & Reheating
Store your moist coconut cake covered at room temperature for up to three days, or refrigerate for up to one week. The cream cheese frosting requires refrigeration in warm weather or humid conditions. Before serving refrigerated cake, let it sit at room temperature for 30 minutes to restore its optimal texture and flavor.
For longer storage, individual slices can be wrapped tightly in plastic wrap and frozen for up to three months. Thaw frozen slices in the refrigerator overnight, then bring to room temperature before serving. The cake maintains its moisture remarkably well when properly stored.
Avoid reheating this cake as the frosting will melt. If you prefer a slightly warm cake, consider serving unfrosted cake layers with the frosting on the side, allowing guests to add it themselves.
The ultimate coconut cake recipe – tender, moist, and absolutely irresistible!
Health & Nutrition Info
While this homemade coconut cake is undeniably an indulgent treat, it does offer some nutritional benefits. Coconut provides healthy medium-chain fatty acids, and the cake contains protein from eggs and dairy. Each slice contains approximately 485 calories, with the majority coming from carbohydrates and fats.
For those with dietary restrictions, several modifications are possible. The cake can be made gluten-free by substituting a 1:1 gluten-free flour blend for the all-purpose flour. For a dairy-free version, substitute vegan butter and dairy-free cream cheese in the frosting, though the texture may vary slightly.
The coconut milk provides natural sweetness and moisture, allowing for potentially reduced sugar content if desired. However, I recommend making the recipe as written first to understand the intended flavor profile before making modifications.
Why This Coconut Cake Recipe Will Become Your New Favorite
After years of perfecting this recipe, I can confidently say it delivers everything you want in a coconut cake: incredible moisture, balanced sweetness, and authentic coconut flavor that doesn’t taste artificial. The combination of three forms of coconut creates layers of flavor that develop with each bite, while the cream cheese frosting provides the perfect tangy counterpoint to the sweet cake.
Whether you’re celebrating a special occasion or simply treating yourself to something extraordinary, this tropical cake recipe delivers restaurant-quality results in your own kitchen. The technique is approachable enough for novice bakers while offering the depth of flavor that experienced bakers appreciate.
I’d love to hear about your experience making this cake! Please leave a comment below sharing how it turned out, any modifications you made, or questions you might have. Don’t forget to rate the recipe and share photos on social media – there’s nothing quite like seeing how this beautiful cake looks in kitchens around the world. For more tropical dessert inspiration, check out my recipes for pineapple upside-down cake and key lime pie.

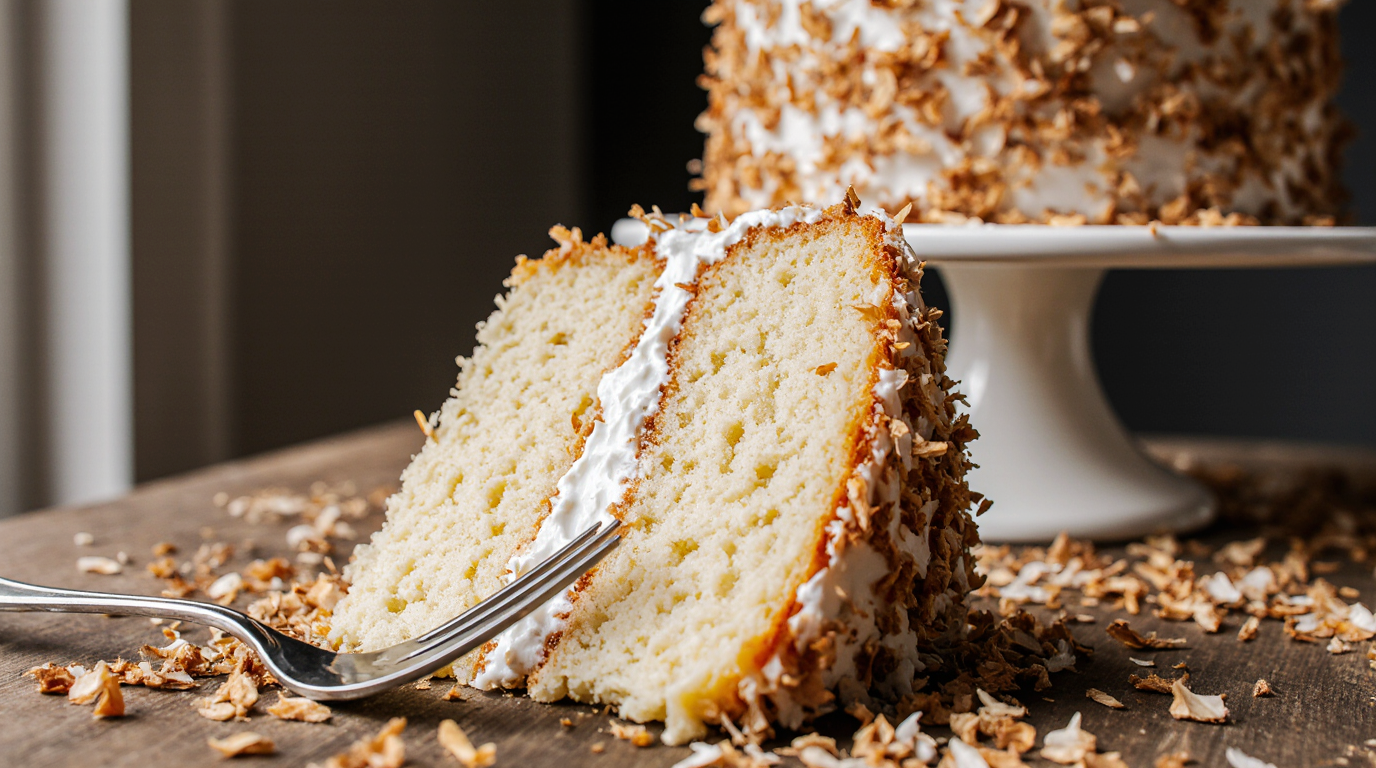
The perfect slice! This homemade coconut cake recipe proves that moist coconut cake with toasted coconut flakes is pure heaven.
FAQ
Can I make this coconut cake recipe ahead of time? Absolutely! This cake actually improves with time as the flavors meld together. You can bake the layers up to two days in advance and store them wrapped tightly in plastic wrap at room temperature. The assembled cake can be made up to one day ahead and stored in the refrigerator. Just remember to bring it to room temperature 30 minutes before serving for the best texture and flavor.
What if I can’t find coconut extract? While coconut extract enhances the coconut flavor significantly, you can substitute it with additional vanilla extract or even rum extract for a tropical twist. You could also add an extra tablespoon of coconut milk to boost the coconut presence. However, I highly recommend seeking out coconut extract as it makes a noticeable difference in the final flavor profile.
Can I use fresh coconut instead of shredded coconut? Yes, you can substitute fresh grated coconut for the sweetened shredded coconut, though you’ll need to adjust the sweetness accordingly. Use about ¾ cup of freshly grated coconut and add an extra 2-3 tablespoons of sugar to the batter. Fresh coconut will provide a more subtle flavor and different texture compared to the sweetened variety.
How do I prevent my cake layers from sticking to the pan? The key is proper pan preparation. Grease your pans thoroughly with butter, dust with flour, and line the bottom with parchment paper. Make sure your pans are completely cool before attempting to remove the cakes, and run a thin knife around the edges before turning out. If a layer does stick, don’t panic – the frosting can cover minor imperfections.
Can I make this as cupcakes instead of a layer cake? Definitely! This batter makes excellent cupcakes. Fill cupcake liners about ⅔ full and bake at 350°F for 18-22 minutes, or until a toothpick comes out clean. This recipe yields approximately 24 cupcakes. Reduce the frosting recipe by half unless you prefer extra-generous frosting portions. The cupcakes are perfect for parties and portion control.
Have You Tried Our Recipe?
There are no reviews yet. Be the first one to write one.

