
Chocolate Marble Pound Cake Recipe (Moist & Easy!)
Welcome to my kitchen! Today, I’m sharing my marble pound cake recipe, a dessert that’s always a hit at family gatherings and potlucks. I first tried marble cake at my grandmother’s house when I was about seven years old, and I remember being completely mesmerized by those beautiful chocolate swirls running through the vanilla batter. It looked like edible art! That memory stuck with me, and now I’ve perfected my own version that I’m excited to share with you.
This recipe is perfect for anyone who loves chocolate marble cake and wants something easy, delicious, and fun to bake. What I adore most about this easy marble pound cake is that it gives you the best of both worlds – rich chocolate flavor swirled with buttery vanilla cake. You don’t have to choose between chocolate or vanilla anymore! Plus, the marbling technique looks impressive but is surprisingly simple, even if you’ve never done it before.
Whether you’re baking for a birthday, bringing dessert to a friend’s house, or simply treating yourself on a cozy weekend, this homemade marble cake delivers every single time. The texture is incredibly moist, the flavor is balanced and not too sweet, and that gorgeous swirl pattern never fails to get compliments. Let’s dive in and see why this marble pound cake is a must-try!
Table of Contents
Quick Recipe Facts
Prep Time: 20 minutes
Cook Time: 55-60 minutes
Total Time: 1 hour 20 minutes
Servings: 12 slices
Difficulty: Easy
Calories: ~340 per slice
Friendly touch: This recipe is surprisingly quick and easy – perfect for busy afternoons when you want to bake something special without spending hours in the kitchen!
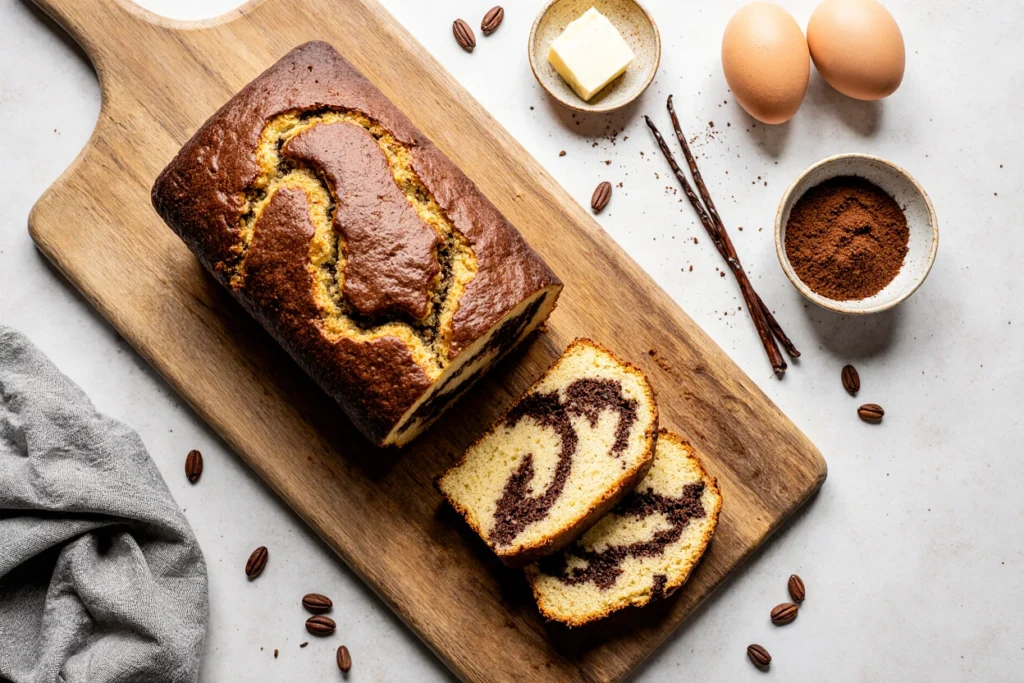
Ingredients
For the Cake:
- 1 cup (2 sticks) unsalted butter, softened to room temperature
- 2 cups granulated sugar
- 4 large eggs, room temperature
- 1 teaspoon vanilla extract
- 3 cups all-purpose flour
- 1 teaspoon baking powder
- ½ teaspoon salt
- 1 cup whole milk, room temperature
- ⅓ cup unsweetened cocoa powder
- 3 tablespoons hot water
- ¼ cup sour cream (makes it extra moist!)
Optional Chocolate Glaze:
- 1 cup powdered sugar
- 3 tablespoons cocoa powder
- 2-3 tablespoons milk
- ½ teaspoon vanilla extract
Ingredient Notes:
- Butter: Must be softened, not melted. Leave it out for about an hour before baking.
- Eggs: Room temperature eggs blend better and create a fluffier texture.
- Cocoa powder: Use quality unsweetened cocoa for the best chocolate flavor.
- Sour cream: This is my secret ingredient for moisture! Greek yogurt works as a substitute.
Instructions
Step 1: Prep Your Kitchen
Preheat your oven to 325°F – this moderate temperature helps your marble pound cake bake evenly without drying out the edges. Grease and flour a 10-inch bundt pan or two 9×5-inch loaf pans thoroughly. I like to use butter and then dust with flour, making sure every nook and cranny is covered. This step is crucial for easy removal later!
Step 2: Cream Butter and Sugar
In a large mixing bowl, beat the softened butter and sugar together using an electric mixer on medium-high speed for about 4-5 minutes. You want it light, fluffy, and pale in color. This process incorporates air into the batter, which gives you that tender crumb texture.
Step 3: Add Eggs and Vanilla
Add eggs one at a time, beating well after each addition. This ensures each egg is fully incorporated before adding the next. Mix in the vanilla extract and sour cream until smooth. The batter should look creamy and thick at this point.
Step 4: Combine Dry Ingredients
In a separate bowl, whisk together the flour, baking powder, and salt. Mix the dry ingredients gently – you just want them evenly distributed. For a soft marble pound cake, don’t overbeat once you add these to the wet ingredients!
Step 5: Alternate Wet and Dry
With your mixer on low speed, add the flour mixture to the butter mixture in three additions, alternating with the milk in two additions. Start and end with the flour mixture. Mix until just combined – you should still see a few small flour streaks. Overmixing develops gluten and makes the cake tough, and we definitely don’t want that!
Step 6: Create the Chocolate Batter
Transfer about one-third of the batter (roughly 2 cups) into a separate bowl. In a small bowl, mix the cocoa powder with hot water until you have a smooth paste. Add this chocolate mixture to the separated batter and stir until fully combined and no streaks remain.
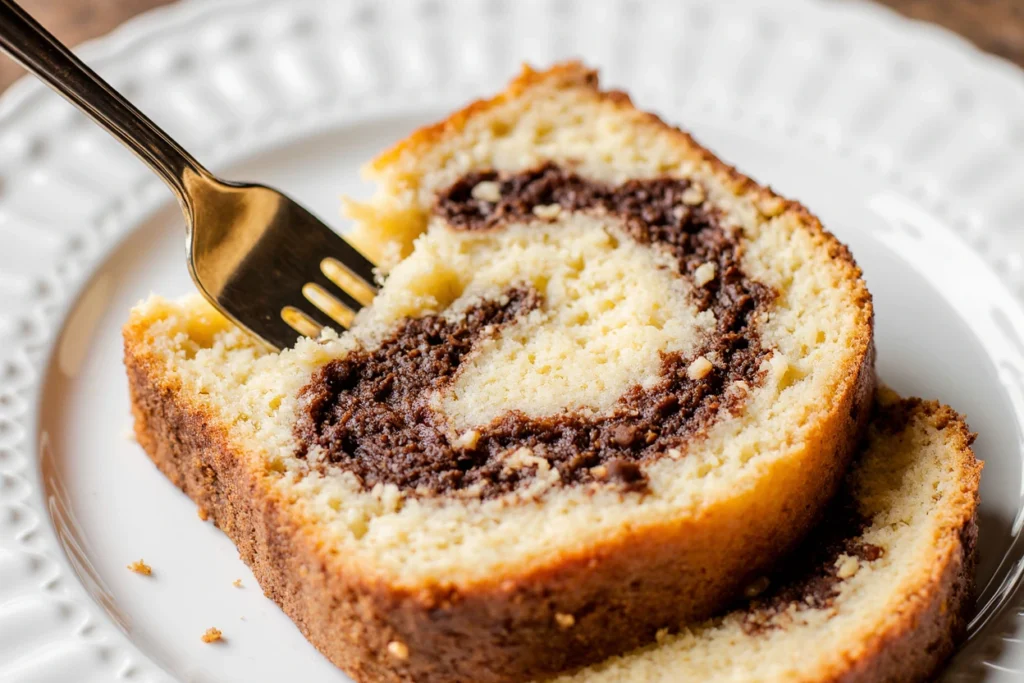
Step 7: Create the Marble Effect
Now for the fun part! Spoon large dollops of vanilla batter and chocolate batter alternately into your prepared pan. I like using a wooden spoon for this part; it just works better than a spatula. Don’t worry about making it perfect – the marbling will happen in the next step.
Once all the batter is in the pan, take a butter knife or wooden skewer and gently swirl it through the batter in a figure-eight motion. Do this about 5-6 times total, but resist the urge to over-swirl! You want distinct ribbons of chocolate and vanilla, not a muddy brown mixture.
Step 8: Bake to Perfection
Place the pan in your preheated oven and bake for 55-60 minutes (or 50-55 minutes if using loaf pans). The cake is done when a toothpick inserted into the center comes out with just a few moist crumbs – not wet batter. The top should be golden brown and spring back lightly when touched.
Step 9: Cool Properly
Let the cake cool in the pan for about 15 minutes. This cooling time is essential! If you try to remove it too soon, it might break apart. After 15 minutes, invert the pan onto a wire cooling rack and gently remove the cake. Let it cool completely before glazing or slicing – I know it’s hard to wait, but trust me on this one!
Step 10: Optional Glaze
If you’re adding the chocolate glaze, whisk together powdered sugar, cocoa powder, milk, and vanilla until smooth. Start with 2 tablespoons of milk and add more if needed to reach a pourable consistency. Drizzle over the cooled cake and let it set for about 10 minutes before serving.

Pro Tips
Tip 1: Don’t skip bringing ingredients to room temperature – especially the butter, eggs, and milk. Room temperature ingredients blend together more smoothly and create a better texture. Cold ingredients can cause the batter to curdle or seize up.
Tip 2: Use room temperature eggs for a fluffier marble pound cake. If you forgot to take them out ahead of time, place them in a bowl of warm (not hot) water for 5-10 minutes. This quick trick works like magic!
Tip 3: Swap regular sugar with coconut sugar for a healthier homemade marble cake twist. Coconut sugar has a lower glycemic index and adds a subtle caramel flavor. Keep in mind the cake will be slightly darker in color.
Tip 4: Grease your pan thoroughly to prevent sticking – trust me, it makes a difference! I learned this the hard way after having a gorgeous cake break apart because I was too lazy to grease properly. Now I’m extra careful, and I haven’t had a stuck cake since.
Tip 5: Don’t over-marble the batter. Three to six swirls is plenty. Over-swirling turns your beautiful marbled pattern into a uniform brown cake. The goal is distinct chocolate and vanilla ribbons, not a blended color.
Tip 6: Check for doneness at 50 minutes. Every oven is different, and you don’t want to overbake and dry out your cake. Start checking at 50 minutes, and if it needs more time, bake in 5-minute increments.
Tip 7: Store the cake at room temperature, not in the fridge. Refrigeration dries out pound cakes quickly. An airtight container or cake dome on your counter is perfect.
Serving Suggestions
This chocolate vanilla marble cake is incredibly versatile when it comes to serving! Here are my favorite ways to enjoy it:
- Classic Style: Serve at room temperature with a simple dusting of powdered sugar for an elegant look
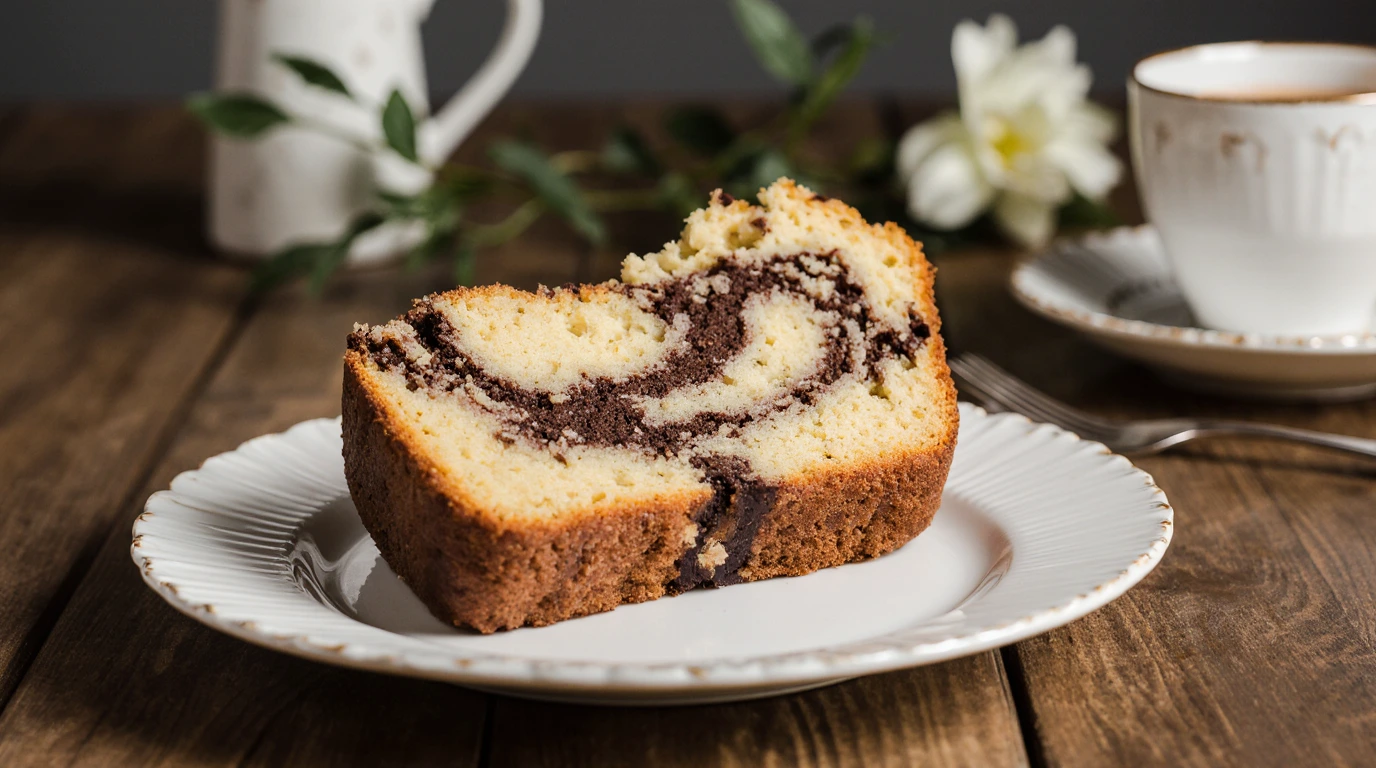
- Coffee Pairing: Pair a slice with your morning coffee or afternoon tea – the flavors complement each other beautifully
- Dress It Up: Add a dollop of freshly whipped cream and fresh berries (strawberries, raspberries, or blueberries all work wonderfully)
- Ice Cream Social: Warm a slice for 15 seconds in the microwave and top with a scoop of vanilla ice cream for an indulgent dessert
- Brunch Star: This cake is perfect for brunch gatherings alongside fresh fruit and yogurt
- Holiday Table: Dust with powdered sugar and add candied orange peel or chocolate shavings for a festive presentation
These serving ideas elevate your easy marble pound cake experience and make it feel special for any occasion, whether it’s a casual Tuesday or a celebration dinner!
Storage & Reheating
Proper storage keeps this cake tasting fresh and delicious for days:
Room Temperature: Store your marble pound cake in an airtight container or wrap it tightly in plastic wrap for 3-4 days at room temperature. This is the best method for maintaining moisture and texture.
Freezing: This cake freezes beautifully! Wrap individual slices tightly in plastic wrap, then place in a freezer-safe bag or container for up to 3 months. Thaw at room temperature for a couple of hours before serving.
Reheating: If you prefer warm cake, reheat individual slices in the microwave for 10-15 seconds, or wrap in foil and warm in a 300°F oven for about 5 minutes. This refreshes the texture and makes it taste freshly baked.
Important: Avoid storing in the fridge! Refrigeration actually dries out pound cakes and makes them stale faster. Room temperature storage is always best for this type of cake.
Leftover marble pound cake stays moist when stored properly in an airtight container, so you can enjoy it throughout the week without any quality loss.
Health & Nutrition Info
While this marble pound cake is definitely an indulgent treat, here are some nutritional considerations and modification options:
Per Slice (approximately):
- Calories: ~340
- Fat: 16g
- Carbohydrates: 45g
- Protein: 5g
- Sugar: 28g
Healthier Modifications:
This recipe can be adapted for different dietary needs! You can make it dairy-free by using coconut oil instead of butter and almond milk instead of whole milk. For a gluten-free version, use a 1:1 gluten-free baking flour blend – I’ve tested this with good results, though the texture is slightly denser.
Consider these swaps for lower sugar content: Replace half the granulated sugar with unsweetened applesauce, or use coconut sugar which has a lower glycemic index. You can also reduce the sugar by ¼ cup without drastically affecting the texture.
For healthier fats, substitute half the butter with Greek yogurt or mashed avocado. This healthier homemade marble cake option is perfect for weekend treats when you want to indulge with slightly more wholesome ingredients.
Dietary Notes:
- Contains: Dairy, eggs, gluten
- Can be made dairy-free with substitutions
- Can be made gluten-free with substitutions
- Not suitable for vegan diets without extensive modifications
Conclusion
There you have it – my tried-and-true recipe for the most delicious, moist, and beautiful marble pound cake! This classic dessert never goes out of style, and it’s perfect for absolutely any occasion. Whether you’re baking for a holiday gathering, a birthday celebration, a weekend brunch, or simply because you’re craving something sweet, this cake delivers every single time.
What I love most about this recipe is how it looks impressive and tastes amazing, yet it’s actually quite simple to make. The marbling technique might seem fancy, but it’s truly foolproof – even beginner bakers can achieve gorgeous results. Plus, there’s something deeply satisfying about slicing into that cake and revealing those beautiful chocolate swirls.
I hope you’ll give this marble pound cake recipe a try and experience the joy of baking this timeless classic. It fills your kitchen with the most wonderful aroma, and the first bite of that tender, buttery cake with ribbons of rich chocolate is pure bliss.
Ready to Bake? Try this marble pound cake and let me know how it turned out! I’d love to hear about your experience. Did you make any fun variations? How did your swirl pattern turn out? Leave a comment below with your thoughts, and don’t forget to rate the recipe!
FAQ
Can I freeze this recipe?
Yes! Your marble pound cake can be frozen for up to 3 months. Wrap it tightly in plastic wrap, then place in a freezer-safe bag or container. For best results, freeze individual slices so you can thaw just what you need. Thaw at room temperature for a couple of hours, and it tastes just as fresh as the day you baked it.
What if I don’t have sour cream?
No problem! Greek yogurt is an excellent 1:1 substitute for sour cream and provides the same moisture and tang. You can also use buttermilk (reduce the regular milk by an equal amount), or even mayonnaise in a pinch – I know it sounds weird, but it works!
Can I make this ahead of time?
Absolutely! This easy marble pound cake actually tastes even better the next day as the flavors have time to develop. Bake it up to 2 days ahead, keep it covered at room temperature, and serve when you’re ready. It’s a perfect make-ahead dessert for busy schedules or party planning.
How can I adjust the sweetness?
If you prefer a less sweet cake, you can reduce the sugar by up to ¼ cup without significantly affecting the texture. You can also use half white sugar and half brown sugar for a more complex flavor with less perceived sweetness. Keep in mind that sugar contributes to moisture, so don’t reduce it by more than ¼ cup.
Why did my cake sink in the middle?
A sunken center usually happens from opening the oven door too early or underbaking. Try not to peek until at least 45 minutes into baking. Also, make sure your baking powder is fresh – expired leavening agents won’t provide proper rise. Finally, ensure you’re not overmixing the batter, which can deflate the air bubbles.
Can I use a different pan size?
Yes, but adjust baking times accordingly. This batter works great in two 9×5-inch loaf pans (bake for 50-55 minutes) or even a 9×13-inch rectangular pan (bake for 35-40 minutes). For cupcakes, fill liners ⅔ full and bake for 18-22 minutes. The bundt pan creates the most dramatic presentation, though!
How do I know when it’s done?
The cake is ready when a toothpick inserted into the center comes out with just a few moist crumbs – not wet batter. The top should be golden brown and spring back when lightly pressed. If you have an instant-read thermometer, the internal temperature should read about 205-210°F.
Can I add other flavors?
Definitely! Try adding ½ teaspoon of almond extract to the vanilla batter for a subtle nutty note, or add orange zest for a chocolate-orange marble cake. You can also swirl in a bit of raspberry jam or Nutella for extra flavor dimension. Get creative and make it your own!
Have You Tried Our Recipe?
There are no reviews yet. Be the first one to write one.