

Blackberry Cheesecake: The Best Techniques for Baking
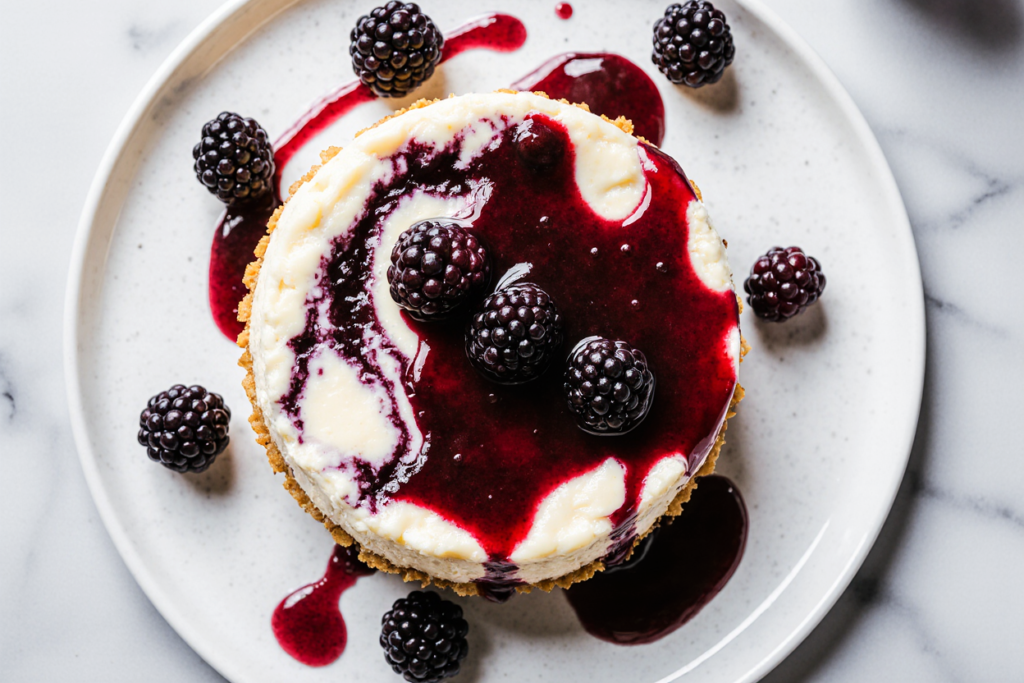
There’s something magical about cheesecake that captures my heart every single time, but when you add blackberries to the mix? Pure heaven! The silky smooth vanilla-infused filling paired with vibrant, tangy blackberry swirls creates a dessert experience that’s unforgettable.
Whether you’re a fan of bold berry flavors or simply can’t resist a creamy slice of cheesecake, this comprehensive guide will walk you through every step to create a show-stopping blackberry cheesecake that’ll have everyone asking for seconds. Let’s get started on this delicious journey together!
Table of Contents
Quick Recipe Facts
Prep Time: 20 minutes
Cook Time: 50 minutes
Chill Time: 6 hours
Total Time: 7 hours 10 minutes
Servings: 12
Difficulty: Intermediate
Crafting an exceptional blackberry cheesecake requires attention to detail and understanding fundamental baking principles. From ingredient selection to mixing methods, every element plays a crucial role in achieving that perfect creamy texture and balanced flavor.
Ingredients
Let’s talk about what goes into this incredible blackberry cheesecake! The foundation of any outstanding cheesecake starts with premium cream cheese – and I mean the full-fat, real deal kind. Skip the reduced-fat versions because they’ll compromise both the luxurious texture and rich taste we’re after. Trust me, your taste buds will thank you for investing in quality ingredients!
For the Graham Cracker Crust:
- 2 cups crushed graham crackers or Biscoff cookies
- 6 tablespoons butter, melted until golden
- (Need it gluten-free? Swap in crushed gluten-free Golden Oreos – they work beautifully!)
For the Cheesecake Filling:
- 32 oz (4 packages) premium full-fat cream cheese, brought to room temperature
- 1 cup granulated sugar
- 4 large fresh eggs, at room temperature
- 2 teaspoons pure vanilla bean paste
- A pinch of sea salt
- 1/2 cup sour cream for extra tang
- 1/2 cup heavy whipping cream
For the Blackberry Sauce:
- 2 cups fresh or frozen blackberries (look for firm, juicy berries)
- 1/2 cup white sugar
- 2 tablespoons fresh lemon juice
- 2 tablespoons cornstarch mixed with 2 tablespoons cold water (this creates the perfect thickness)
Instructions
Step 1: Building Your Foundation – The Crust
Your crust sets the stage for everything that follows, so let’s make it count! Combine your graham cracker or cookie crumbs with the melted butter, mixing thoroughly until the texture resembles wet sand. This buttery base provides the perfect sweet crunch that complements your creamy filling.
Press this mixture firmly and evenly across the bottom and up the sides of your springform pan – don’t be shy about really packing it in there! Pop it into a 325°F oven for about 10 minutes to achieve that gorgeous golden color and firm texture.
Step 2: Crafting the Berry Sauce
Select the ripest, juiciest blackberries you can find – fresh is fantastic, but frozen works wonderfully too! Give them a quick rinse and pat dry if using fresh. Combine your berries with sugar and a splash of lemon juice in a saucepan over medium heat. Stir occasionally as the berries break down and release their natural juices, creating a beautifully syrupy mixture.
For that luscious thick consistency, whisk together cornstarch and water, then stir it into your simmering berries. Let it bubble gently until you reach the perfect jammy texture. Pour through a fine-mesh strainer to remove seeds for an ultra-smooth sauce. Set aside what you’ll need for the cheesecake, then refrigerate the rest for up to a week or freeze for future baking adventures!
Step 3: Mixing the Dreamy Filling
Here’s where the magic happens! Before you start, ensure all your dairy ingredients have come to room temperature – this single step dramatically improves your final texture. Using a stand mixer or hand mixer, whip your cream cheese until it’s impossibly fluffy and light. Gradually stream in the sugar, beating continuously until everything’s perfectly incorporated. Add your salt and vanilla bean paste, then introduce the eggs one at a time, mixing gently after each addition. The key here is patience – we want to avoid overmixing, which can lead to those pesky cracks later. Finally, fold in your sour cream and heavy cream until your batter is velvety smooth.
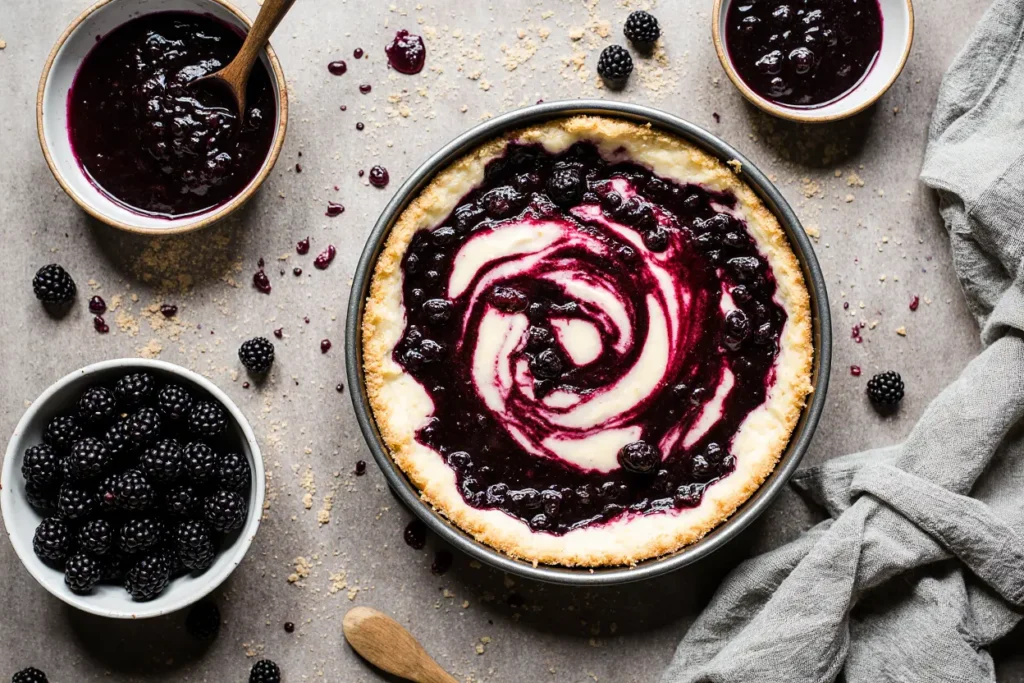
Step 4: Creating the Swirl Masterpiece
Now comes the fun part – assembling your masterpiece! Pour roughly half your cheesecake batter over your prepared crust. Drop spoonfuls of that gorgeous blackberry sauce across the surface, then use a butter knife or wooden skewer to create elegant swirls through the batter. Repeat this layering process with your remaining batter and sauce. Get creative with your swirling technique – try concentric circles, figure-eights, or random abstract patterns. Each cheesecake becomes a unique work of art!
Step 5: Preparing the Water Bath
This technique is your secret weapon against cracks! Wrap your springform pan tightly with several layers of heavy-duty aluminum foil, ensuring complete coverage around the bottom and sides. Place your wrapped pan inside a larger roasting pan. Fill the outer pan with hot water until it reaches about halfway up the sides of your springform pan. This gentle steam bath creates the perfect humid baking environment, resulting in that ultra-creamy texture we’re after.
Step 6: The Baking Process
Preheat your oven according to your recipe’s specifications. Carefully transfer your water bath setup to the oven, taking care not to splash water into your batter. Bake until the edges appear set and firm, while the center maintains a slight jiggle – this is exactly what you want! The residual heat will continue cooking the center as it cools.
Step 7: Cooling and Setting
Patience is crucial during this phase! Turn off your oven and crack the door open slightly, allowing your cheesecake to cool gradually for about an hour. This prevents thermal shock that causes cracking. Once cooled, transfer to your refrigerator and chill for a minimum of 6 hours, though overnight is ideal. This extended chilling time allows flavors to meld beautifully and ensures the perfect sliceable texture.
Pro Tips
Tip 1: Temperature matters more than you might think! Having all ingredients at room temperature before you begin mixing makes an enormous difference in achieving that perfectly smooth, lump-free batter.
Tip 2: Avoid the heartbreak of cracks by following two golden rules: never overmix your batter, and never overbake your cheesecake. The water bath method also provides excellent insurance against cracking.
Tip 3: Your crust deserves just as much attention as your filling! Taking time to press it evenly and pre-bake it properly creates the ideal foundation that won’t get soggy.
Tip 4: Want to elevate your presentation? Transfer some blackberry sauce into a piping bag or squeeze bottle for creating intricate designs. Experiment with different patterns – spiral from center outward, create geometric shapes, or go for an artistic drizzle effect.
Tip 5: Invest in quality springform pans and heavy-duty foil. These tools make all the difference in preventing water leaks and ensuring easy removal of your finished cheesecake.
Tip 6: An instant-read thermometer takes the guesswork out of doneness. Your cheesecake is ready when the internal temperature reaches the sweet spot your recipe specifies.
Serving Suggestions
Serve your masterpiece chilled for the best texture and flavor experience. This dessert pairs beautifully with a scoop of vanilla bean ice cream or a generous dollop of freshly whipped cream. For added texture and sophistication, sprinkle toasted almonds or pecans across the top. A light drizzle of honey adds an elegant touch. This stunning dessert steals the show at dinner parties, holiday gatherings, or whenever you’re craving something extraordinary!
Storage & Reheating
Your finished cheesecake stays fresh in the refrigerator for up to 5 days when properly stored in an airtight container. For longer storage, wrap individual slices tightly and freeze for up to 3 months – perfect for enjoying throughout the year! Here’s a pro tip: allowing your cheesecake to rest overnight before serving actually improves it. The extra time lets all those wonderful flavors develop and harmonize together.
Health & Nutrition Info
Looking to accommodate dietary restrictions? Easily make this recipe gluten-free by substituting gluten-free Golden Oreos or gluten-free graham crackers in your crust. For the richest flavor and best results, stick with full-fat cream cheese rather than reduced-fat alternatives.
Conclusion & Call to Action
Creating a homemade blackberry cheesecake from scratch is an incredibly rewarding experience that combines technique, artistry, and delicious results. Success comes from selecting quality ingredients and carefully following each step of the process. Don’t hesitate to make this recipe your own – try miniature individual cheesecakes, experiment with different berry combinations, or create your own signature swirl patterns. This expands your dessert-making repertoire beautifully! I’d love to hear about your baking adventures with this recipe – share your results, ask questions, or tell me about your own creative variations. Happy baking, and may your cheesecake always be crack-free and delicious!
Essential Equipment and Tools
Springform Pan Selection
A 9-inch springform pan is your best friend for cheesecake success. The removable sides make unmolding effortless and help maintain that perfect shape. Planning to make a taller cheesecake? An 8-inch deep springform pan gives you the extra height you need.
Mixing and Baking Equipment
A reliable stand mixer or hand mixer ensures proper incorporation of ingredients and that coveted fluffy texture. A food processor makes quick work of crushing cookies for your crust. Don’t forget a fine-mesh strainer – it’s essential for achieving that silky-smooth blackberry sauce.
Temperature Monitoring Tools
Taking your cheesecake’s internal temperature removes all the guesswork from baking. A digital probe thermometer provides accurate readings, guaranteeing perfectly cooked results every single time.
Troubleshooting Common Baking Issues
Preventing Cracks
Cracks happen to the best bakers, but they’re totally preventable! Avoid overmixing your batter and resist the urge to overbake. If cracks do appear, simply disguise them under freshly whipped cream, extra blackberry sauce, or fresh berries for a rustic look.
Addressing a Watery Cheesecake
A soggy, watery cheesecake typically results from inadequate foil wrapping around your springform pan. Ensure you’ve created a watertight seal with multiple layers of heavy-duty foil before placing it in the water bath.
Dealing with a Hard Crust
Ending up with an overly firm, tough crust? This usually indicates excessive baking time or too high oven temperature. Reduce your baking time slightly or lower your oven temperature by 25 degrees for better results.
Fixing a Sunken Center
A sunken or collapsed center points to either underbaking or overbaking. Fine-tune your baking time and pay close attention during the cooling phase. The center should still have that characteristic slight wobble when you remove it from the oven.
FAQ
Can I freeze this blackberry cheesecake?
Absolutely! Freezing works wonderfully for up to 3 months. Wrap slices individually for easy grab-and-go treats throughout the year.
What if I don’t have fresh blackberries?
Frozen blackberries work just as beautifully as fresh! Simply rinse and drain them well before using. Mixing both fresh and frozen actually creates an interesting texture contrast in your sauce.
Can I make it ahead of time?
Making this cheesecake the day before serving is actually ideal! The extended chilling time allows flavors to meld and intensify, creating an even more delicious final result.
How can I make this gluten-free?
Simply swap traditional graham crackers for gluten-free Golden Oreos or your favorite gluten-free cookie alternative in the crust. Everything else remains the same!
Why is a water bath used when baking the cheesecake?
The water bath (bain-marie) serves multiple purposes – it regulates temperature, provides gentle even heat, and creates a humid environment that prevents cracking and promotes that ultra-creamy texture.
How can the blackberry sauce be used in the cheesecake?
Get creative! Swirl it directly into your batter for that gorgeous marbled effect, save it for a dramatic topping, or do both for maximum berry flavor and visual impact.
How can cracks in the cheesecake be prevented?
Three key strategies: avoid overmixing, don’t overbake, and always use a water bath. These techniques work together to create the perfect baking environment.
What can be done if the cheesecake has a sunken center?
Prevent this by carefully monitoring baking time and allowing proper gradual cooling. If it does sink, cover it with toppings or simply embrace the rustic look – it’ll still taste amazing!
Have You Tried Our Recipe?
There are no reviews yet. Be the first one to write one.