
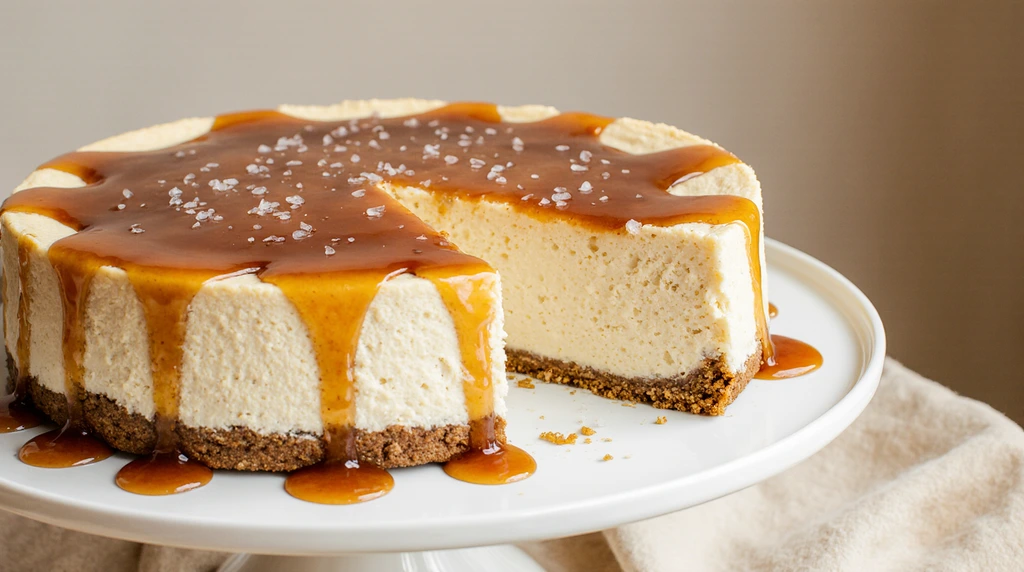
No Bake Caramel Cheesecake: The Easiest Dessert You’ll Ever Make
Welcome to my kitchen! If you’ve been searching for the perfect no bake caramel cheesecake, you’ve just landed in the right place. I still remember the first time I made this recipe — it was a sweltering July afternoon, the last thing I wanted to do was turn on the oven, but I had a dinner party in a few hours and absolutely needed to impress. I threw this together with ingredients I already had on hand, crossed my fingers, and honestly? It was the most-requested dessert of the entire summer.
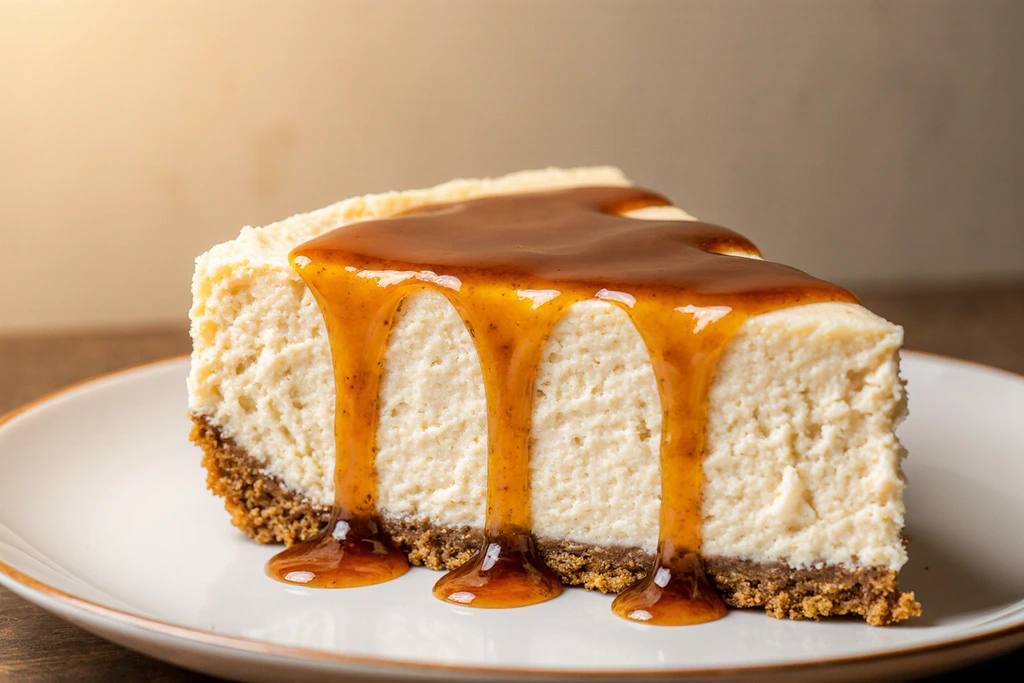
This no bake caramel cheesecake recipe is everything a dessert should be — rich, creamy, buttery, and layered with the most gorgeous caramel flavor you can imagine. The filling is smooth like velvet, the graham cracker crust has just the right amount of crunch, and that drizzle of salted caramel on top? Pure magic.
The best part is that there’s zero baking involved. No water baths, no cracked tops, no timing anxiety. Just mix, chill, and slice. Whether you’re a first-time baker or a seasoned home cook, this easy no bake caramel cheesecake is completely foolproof. It’s perfect for holidays, potlucks, birthday parties, or honestly just a Tuesday when you deserve something special.
Ready to make a dessert that will have everyone begging for the recipe? Let’s do it!
Table of Contents
Quick Recipe Facts
- Prep Time: 25 minutes
- Chill Time: 6 hours (or overnight)
- Total Time: 6 hours 25 minutes
- Servings: 10–12 slices
- Difficulty: Easy
- Calories: ~420 per slice
This recipe is surprisingly simple — perfect for busy weeknights or last-minute entertaining! No oven, no stress, just pure caramel cheesecake bliss.
Ingredients
For this no bake caramel cheesecake, you’ll need just a handful of everyday ingredients. I’ve organized them into sections to make your prep smooth and stress-free.
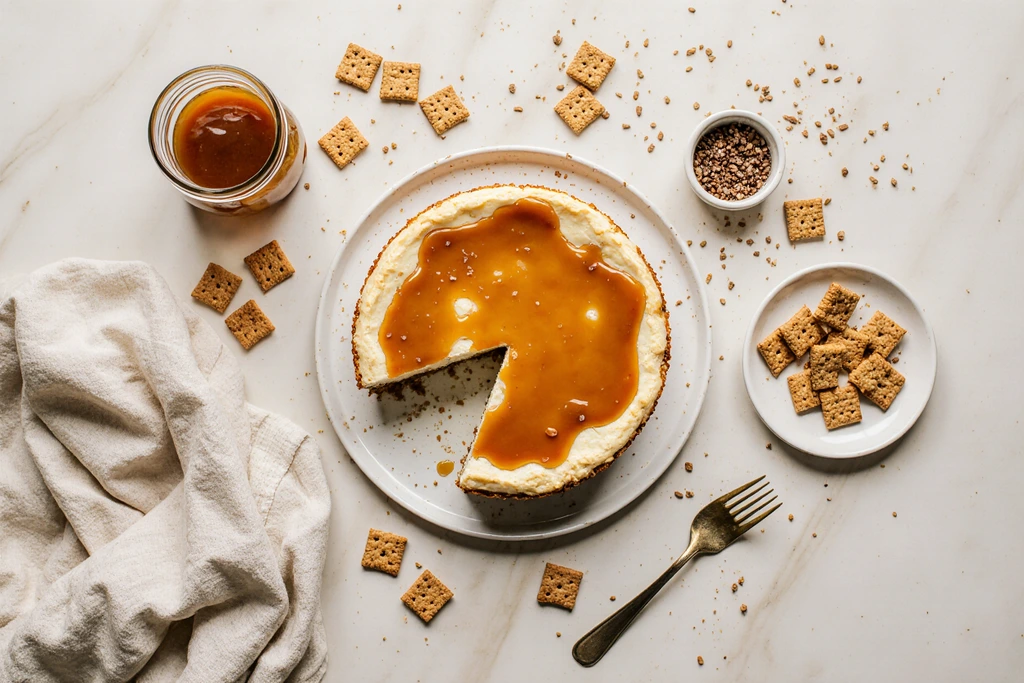
For the Graham Cracker Crust:
- 2 cups graham cracker crumbs (about 16 full crackers)
- ½ cup unsalted butter, melted
- 3 tablespoons granulated sugar
- Pinch of salt
For the Cheesecake Filling:
- 24 oz (3 blocks) full-fat cream cheese, softened to room temperature
- 1 cup powdered sugar, sifted
- 1 teaspoon pure vanilla extract
- 1½ cups heavy whipping cream, cold
- ½ cup caramel sauce (store-bought or homemade)
For the Caramel Topping:
- ½ cup caramel sauce
- ½ teaspoon flaky sea salt (optional but highly recommended for a no bake salted caramel cheesecake effect)
- Whipped cream for garnish
Helpful swaps: You can use coconut cream in place of heavy whipping cream for a dairy-light version. Gluten-free graham crackers work perfectly if you need a gluten free no bake caramel cheesecake. And if you love that salty-sweet combo, don’t skip the flaky sea salt on top — it completely elevates the whole dessert.
Instructions
Step 1: Make the Graham Cracker Crust
Add your graham cracker crumbs, melted butter, sugar, and pinch of salt to a medium bowl. Stir until the mixture resembles wet sand and holds together when pressed. Press it firmly and evenly into the bottom of a 9-inch springform pan, going slightly up the sides. Use the bottom of a flat measuring cup to really pack it in — this helps your crust hold its shape when slicing.
Pop it in the freezer for 15 minutes while you prepare the filling. This step is key!
Step 2: Whip the Heavy Cream
In a large chilled bowl, beat the cold heavy whipping cream with a hand mixer or stand mixer on medium-high speed until stiff peaks form, about 3–4 minutes. Set aside in the fridge. Starting with cold cream (and even a chilled bowl) makes a big difference for volume and stability.
Step 3: Beat the Cream Cheese
In a separate large bowl, beat the softened cream cheese on medium speed until completely smooth and fluffy, about 2 minutes. Scrape down the sides as you go. Any lumps now will show up in your finished cheesecake, so take your time here.
Add the powdered sugar and vanilla extract and beat again until fully combined and silky smooth.
Step 4: Add the Caramel
Pour in the ½ cup of caramel sauce and mix on low until just incorporated. Don’t overmix at this stage — you want the caramel swirled beautifully through the filling.
Step 5: Fold in the Whipped Cream
Gently fold the whipped cream into the cream cheese mixture using a rubber spatula. Use slow, sweeping folds from the bottom up. This keeps all that lovely air in the filling, giving your no bake caramel cheesecake that light, mousse-like texture.
Step 6: Fill and Chill
Pour the cheesecake filling over your chilled crust and smooth the top with an offset spatula. Cover tightly with plastic wrap and refrigerate for at least 6 hours, or overnight for the best results. I know it’s hard to wait, but the chill time is what sets the cheesecake and gives it that clean, gorgeous slice.
Step 7: Add the Caramel Topping
Once fully set, carefully release the springform pan. Drizzle the remaining caramel sauce generously over the top and sprinkle with flaky sea salt. Add swirls of whipped cream around the edges if you’re feeling fancy. Slice and serve!
Pro Tips for the Best No Bake Caramel Cheesecake
Tip 1: Room temperature cream cheese is non-negotiable. Cold cream cheese will leave lumps in your filling no matter how long you beat it. Pull it out of the fridge at least an hour before you start.
Tip 2: Don’t rush the chill time. Six hours is the minimum, but overnight is truly best. The texture firms up beautifully and the flavors deepen. I always make this the night before I need it.
Tip 3: Use full-fat cream cheese. Low-fat versions have more water content and your cheesecake may not set up as firmly. Full-fat gives you that rich, dense, creamy texture that makes this dessert so irresistible.
Tip 4: Homemade caramel takes it to the next level. Store-bought caramel sauce is perfectly fine and I use it all the time for a quick easy no bake caramel cheesecake. But if you have 10 extra minutes, a simple homemade caramel sauce made with butter, brown sugar, and heavy cream is absolutely worth it.
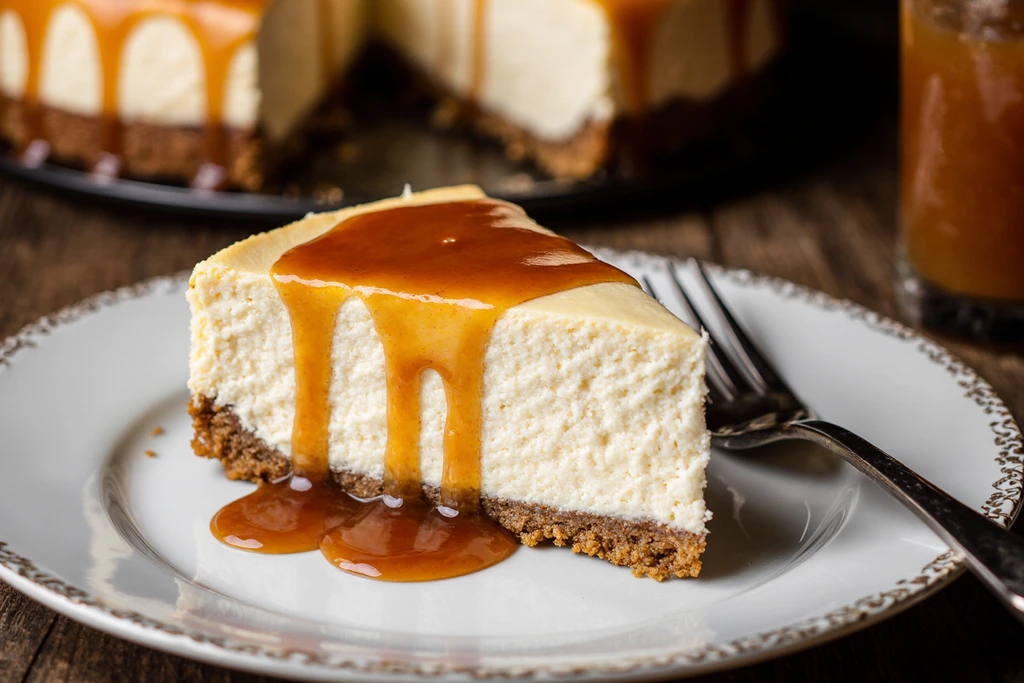
Tip 5: Wipe your knife between slices. Run a sharp knife under hot water and wipe dry before each cut. You’ll get those clean, picture-perfect slices every time.
Serving Suggestions
This cheesecake is stunning on its own, but here are a few ways to dress it up even more:
- Serve chilled straight from the fridge for the cleanest slices
- Pair with a strong cup of coffee or chai tea — the bitterness balances the sweetness perfectly
- Add fresh sliced bananas or a handful of toasted pecans on top for extra texture
- A scoop of vanilla bean ice cream alongside a warm slice is an absolute dream
- For a holiday spread, garnish with sugared cranberries for a festive touch
Storage & Reheating
In the fridge: Store leftover no bake caramel cheesecake covered in the springform pan or transferred to an airtight container. It keeps beautifully in the fridge for up to 5 days.
In the freezer: Yes, this cheesecake freezes wonderfully! Wrap individual slices tightly in plastic wrap, then foil, and freeze for up to 2 months. Thaw overnight in the refrigerator before serving.
Important: Do not leave this cheesecake at room temperature for more than 2 hours since it contains cream cheese.
Health & Nutrition Info
One slice of this no bake caramel cheesecake (based on 12 servings) is approximately 420 calories. Here are a few easy swaps to lighten it up:
- Gluten free: Use certified gluten-free graham crackers or an almond flour crust for a gluten free no bake caramel cheesecake
- Lower sugar: Use a sugar-free caramel sauce and reduce the powdered sugar by half
- Dairy-free: Swap cream cheese for a vegan cream cheese alternative (like Violife) and use coconut cream instead of heavy whipping cream
This dessert is rich and indulgent by nature — a small slice goes a long way!
Conclusion
There you have it — my all-time favorite no bake caramel cheesecake that never fails to wow a crowd. It’s creamy, dreamy, incredibly easy to make, and requires zero oven time. Whether you’re making it for a special occasion or just because it’s the weekend and you deserve something delicious, this is the recipe to bookmark.
If you try this recipe, I’d love to hear from you! Drop a comment below, leave a star rating, and share a photo on Pinterest or Instagram. Seeing your creations genuinely makes my day. And if you loved this one, be sure to check out my other no bake dessert recipes — there are plenty more where this came from!
Happy no-baking! 🍮
FAQ
Can I freeze no bake caramel cheesecake? Absolutely! Your no bake caramel cheesecake can be frozen for up to 2 months. Wrap slices individually in plastic wrap and then aluminum foil to prevent freezer burn. Thaw in the refrigerator overnight before serving. The texture stays wonderfully creamy.
What if I don’t have a springform pan? No problem! You can use a deep 9-inch pie dish or an 8×8 square baking dish lined with parchment paper. The slices won’t look as tall and dramatic, but they’ll taste just as amazing. A parchment-lined dish also makes it easy to lift and cut.
Can I make this cheesecake ahead of time? Yes, and it’s actually better that way! Making it the night before your event gives it plenty of time to set fully and the flavors meld together beautifully. Just add the caramel topping right before serving so it looks fresh and glossy.
What caramel sauce works best? Both store-bought and homemade work great. For store-bought, look for a thick, rich sauce rather than a thin ice cream topping — it’ll drizzle better and taste more intense. For homemade, a classic brown butter caramel sauce is absolutely heavenly in this recipe.
Can I adjust the sweetness? Definitely! If you prefer a less sweet cheesecake, reduce the powdered sugar to ¾ cup and use a lighter caramel drizzle on top. The no bake salted caramel cheesecake version (with flaky sea salt) also naturally balances out the sweetness without reducing any ingredients.
Can I make this into mini cheesecakes? Yes! Press the crust mixture into a lined muffin tin, fill with the cheesecake mixture, and refrigerate. No bake mini caramel cheesecakes are perfect for parties and make adorable individual servings. They typically set in about 4 hours.
Have You Tried Our Recipe?
There are no reviews yet. Be the first one to write one.