
the Perfect Old School Cake Recipe
Who can resist the charm of a classic dessert like the Old School Cake? This vintage cake is a staple of American baking. It brings back memories of school lunch trays and birthday parties. As you start this baking journey, you’ll learn how to make the perfect Old-School Cake.
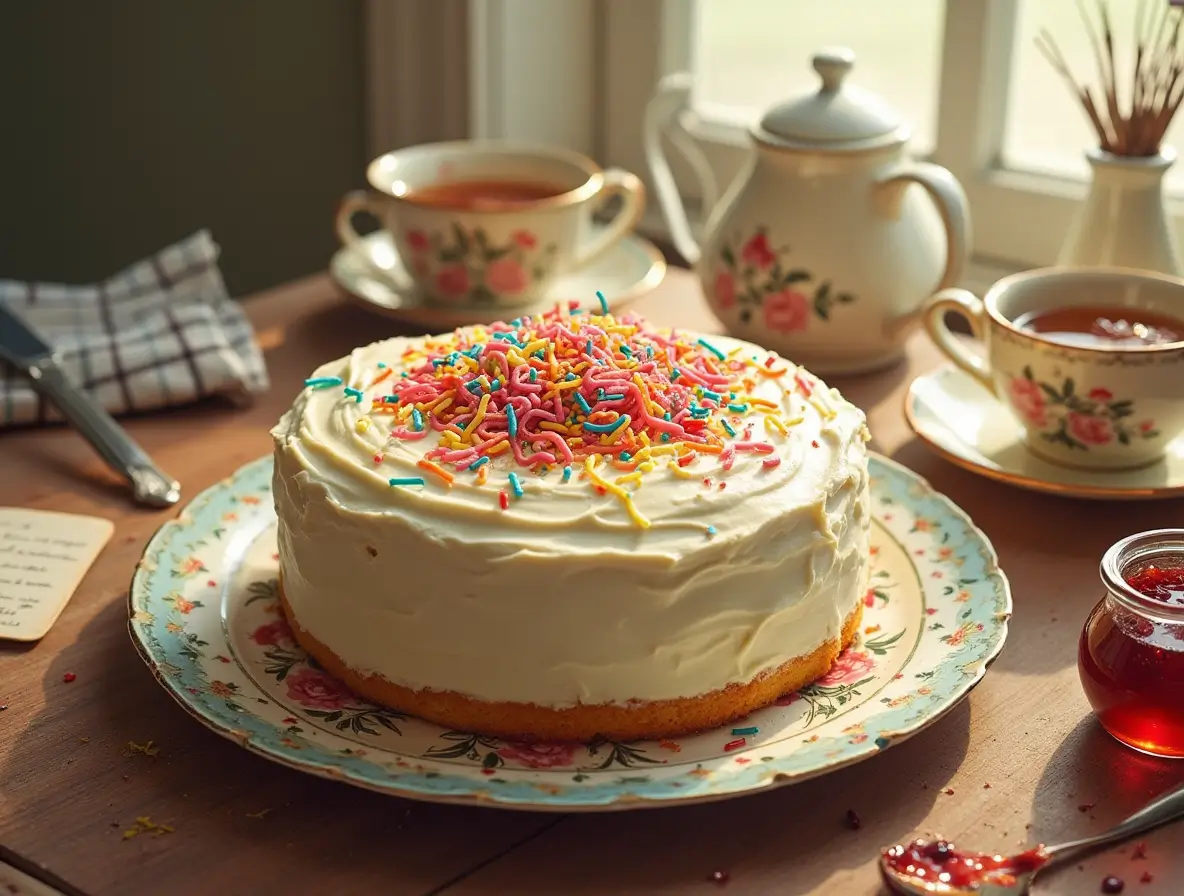
This cake is topped with thick white icing sugar and sprinkles. It’s sure to make everyone smile.
Exploring Old-School Cake, you’ll discover its rich history and essential ingredients. This guide is for both seasoned bakers and beginners. It will show you how to make a delicious vintage cake for any occasion. So, let’s start and learn the magic of the Old School Cake, a beloved classic dessert.
Table of Contents
Quick Recipe Facts:
- Prep Time: 15 minutes
- Cook Time: 20-25 minutes
- Total Time: 35-40 minutes
- Servings: 8-10 slices
- Difficulty: Easy
- Calories: Not specified
Ingredients
- 200g of butter
- 1 teaspoon of vanilla extract
- 3 medium eggs
- 175g of caster sugar
- 200g of self-raising flour
For the Frosting:
- Icing sugar
- Water
- Sprinkles
Instructions
Step 1: Preparing Your Ingredients
Heat your oven to 170 degrees C fan (325°F). You’ll need 200g of butter, 1 teaspoon of vanilla extract, 3 medium eggs, 175g of caster sugar, and 200g of self-raising flour. Use top-quality ingredients for the best taste and texture.
Step 2: Mixing the Batter
Mix the butter and caster sugar until it’s creamy. This step is important for a smooth cake texture. Add the eggs one at a time, mixing well after each addition. Then add the flour and mix until smooth. Don’t overmix, as it can make the cake dense.
Step 3: Baking Temperature and Timing
Pour the batter into a ready baking tin. Bake at 170 degrees C fan for 20-25 minutes, or until golden. For two 9″ pans, bake for 26-30 minutes, or 38-42 minutes for two 8″ pans. Adjust the baking time based on your cake pan size. Use a digital thermometer to check if it’s done at 205°F.
Step 4: Frosting
For frosting, use a simple water icing made from icing sugar and water. Spread it on the cooled cake and add sprinkles. This frosting is easy to make and adds a sweet touch.
Pro Tips
- Always sift the powdered sugar to avoid clumps
- Apply a thin crumb coat with a thickness of ½ inch to the entire outside of the cake
- Chill the cake after applying the crumb coat for at least 1 to 2 hours until the frosting is firm
- Use piping designs at a 45-degree angle using varying pressure and different sizes of piping tips
- Whip the butter until it’s smooth and creamy, then whip again for fluffiness
- Don’t overmix the batter to maintain the cake’s light and fluffy texture
- Avoid baking the cake too long, as it can dry out
- Pay close attention to ingredient temperature – wrong temperatures can make the cake dense or tough
Serving Suggestions
It’s best to serve the cake at room temperature. This brings out the flavors and textures better. Get creative with presentation, like adding fresh flowers or using a decorative cake stand. This vintage cake is perfect for any occasion, like a birthday party or just a special treat.

Storage & Reheating
Store it in an airtight container at room temperature for up to 3 days. This keeps the texture and flavor of your treat fresh. Proper wrapping is key to keeping moisture and flavor in. Use plastic wrap or airtight containers.
For longer storage, freeze it. Wrap it in several layers of plastic wrap to avoid freezer burn. For a heart-shaped cake, use an airtight container to prevent air exposure.
Additional Storage Tips:
- Keep the cake away from direct sunlight and heat sources to maintain freshness
- Use a cake tray during refrigeration to prevent damage to the cake
- Label frozen cakes with the date to ensure you know how long they’ve been stored
- Thaw frozen cakes in the refrigerator overnight while they’re wrapped to prevent condensation from forming on the surface
- To revive dry cakes, sprinkle simple syrup or brush with milk to restore moisture
Health & Nutrition Info
You can make your retro cake more inclusive with a few simple changes. Try using gluten-free flour or vegan milk and eggs. Switching to gluten-free flour is easy. Just replace traditional flour with a gluten-free option. This keeps the cake’s delicious taste and texture.
Other ideas for a modern-diet friendly old school cake include:
- Using sugar substitutes or less sugar
- Adding healthier fats like coconut or avocado oil
- Adding nuts or seeds for extra fiber
These small changes let you enjoy your favorite cake while meeting your guests’ dietary needs.

Conclusion:
In today’s fast-changing world, the old school cake stands out as a classic. It wins over hearts and taste buds across generations. By using old-fashioned baking methods and flavors, you make a dessert that brings people together. It celebrates the joy of comfort and nostalgia.
Whether you’re an experienced baker or new to the kitchen, the old school cake is a great choice. It connects you to America’s rich dessert history. By learning the key ingredients and techniques, you can make a cake that’s not just delicious but also keeps a beloved tradition alive.
So, why not put on your apron, turn on your oven, and start making an old school cake? With a bit of effort, patience, and love, you’ll create a dessert that takes your guests back to a simpler era. It will give them memories that last a lifetime.
FAQ
What is the history and cultural significance of the old school cake?
What are the essential ingredients for baking an old school cake?
What kitchen tools and equipment are needed to bake the perfect old school cake?
What are the step-by-step instructions for baking an old school cake?
What are the traditional frosting techniques for an old school cake?
What are some common mistakes to avoid when making an old school cake?
Can I try variations on the classic old school cake recipe?
How should I store and serve the old school cake?
Can I make the old school cake modern-diet friendly?
Have You Tried Our Recipe?
There are no reviews yet. Be the first one to write one.