
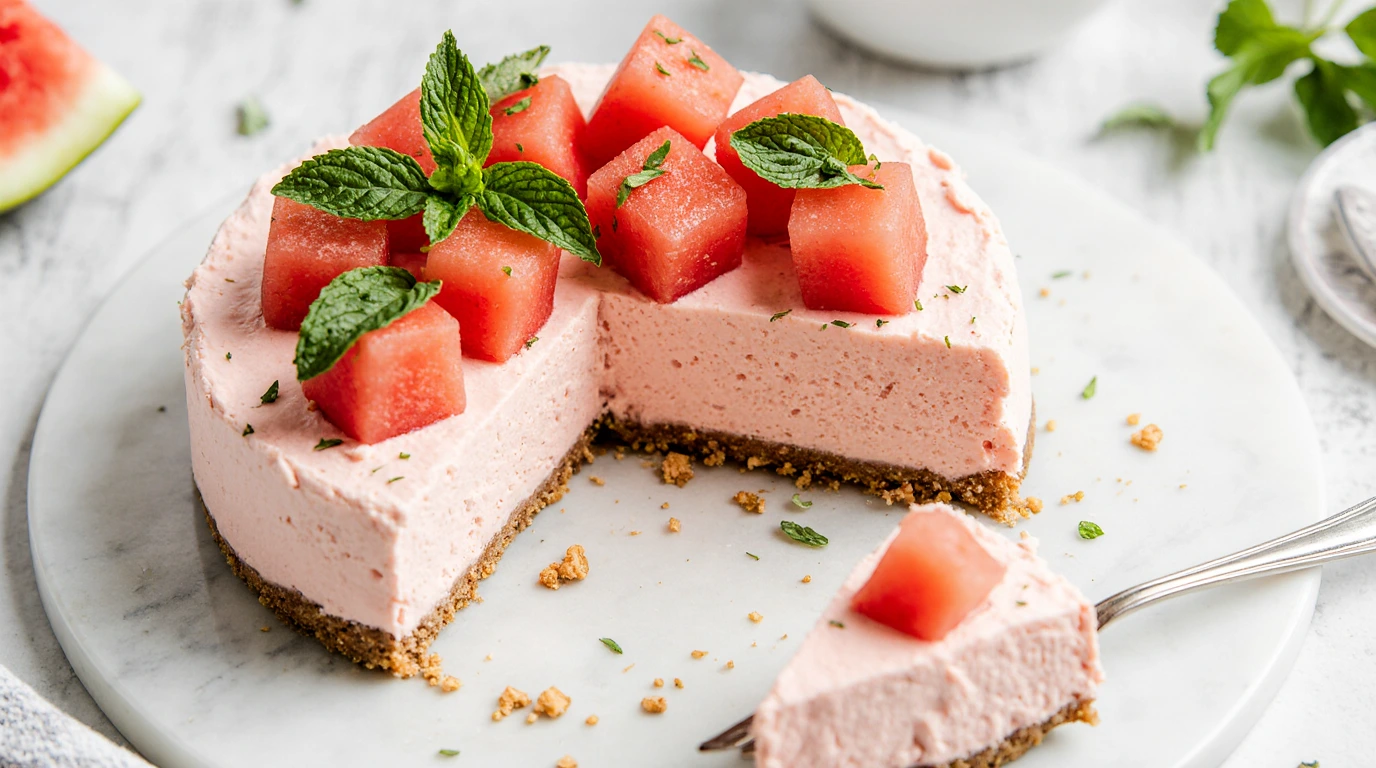
No Bake Watermelon Cheesecake That Actually Slices Perfectly Every Time
Most no bake watermelon cheesecake recipes either taste faintly of artificial flavoring or collapse into a soupy layer before you can slice them. This version uses reduced watermelon purée instead of raw juice — concentrating the flavor while removing excess water that undermines the set. A gelatin-stabilized cream cheese filling holds clean slices even after hours at a summer table. No bake watermelon cheesecake works whether you’re hosting a backyard cookout or need a make-ahead dessert with zero oven time. Built on an easy watermelon cheesecake recipe framework that requires no special equipment, this is achievable for any skill level on a weeknight.
Table of Contents
Quick Recipe Facts
- Prep Time: 30 minutes
- Cook Time: 0 minutes (plus 6 hours chilling)
- Total Time: 6 hours 30 minutes
- Servings: 10–12 slices
- Difficulty: Beginner
- Calories: ~320 per slice
Ingredients for No Bake Watermelon Cheesecake
Crust
- 2 cups graham cracker crumbs (about 16 full crackers)
- 6 tablespoons unsalted butter, melted
- 2 tablespoons granulated sugar
- Pinch of salt
Filling
- 4 cups seedless watermelon chunks (about ½ small watermelon)
- 16 oz full-fat cream cheese, room temperature
- ¾ cup powdered sugar
- 1 teaspoon vanilla extract
- 2½ teaspoons unflavored gelatin powder
- 3 tablespoons cold water
- 1 cup heavy whipping cream, cold
Optional Topping
- Thin watermelon slices or small cubes
- 1 tablespoon lime zest
- Fresh mint leaves
For a no bake watermelon cheesecake with graham cracker crust that holds its shape, full-fat cream cheese is non-negotiable — reduced-fat versions contain more water and resist proper setting. Do not substitute light whipping cream; the fat content in heavy cream is what allows it to whip to stable peaks.
How to Make No Bake Watermelon Cheesecake
Step 1: Reduce the watermelon purée — Blend 4 cups watermelon chunks until smooth, then pour into a small saucepan over medium heat. Cook uncovered for 15–20 minutes, stirring occasionally, until reduced to ¾ cup. The purée should thicken slightly and deepen in color. This step removes up to 60% of the water content, which is what allows the filling to set without a rubbery texture.
Step 2: Strain and cool the purée — Pour the reduced purée through a fine mesh strainer into a bowl, pressing with a spoon to extract maximum liquid. Discard the solids. Let the purée cool to room temperature completely — at least 20 minutes — before adding it to the cream cheese. Adding warm liquid to cream cheese causes it to curdle.
Step 3: Build the graham cracker crust — Combine graham cracker crumbs, melted butter, sugar, and salt in a bowl. Stir until the mixture resembles wet sand and holds its shape when pressed. Press firmly into the base of a 9-inch springform pan using the flat bottom of a measuring cup. Apply even pressure across the entire surface, including the edges, so the crust doesn’t crumble on slicing. Refrigerate for 20 minutes while you prepare the filling.
Step 4: Bloom the gelatin — Sprinkle gelatin powder over 3 tablespoons of cold water in a small bowl. Let it sit undisturbed for 5 minutes — it will absorb the water and turn spongy. Then microwave for 10–15 seconds until fully liquid and clear. Do not boil. Gelatin that hasn’t fully bloomed will leave grainy pockets in the finished cheesecake.
Step 5: Beat the cream cheese base — Using a hand or stand mixer, beat room-temperature cream cheese on medium speed for 2 minutes until completely smooth with no lumps. Add powdered sugar and vanilla and beat for another 1 minute. Cold cream cheese will leave lumps that don’t disappear after adding other ingredients.
Step 6: Incorporate the watermelon and gelatin — With the mixer on low, slowly add the cooled watermelon purée to the cream cheese mixture. Then add the liquid gelatin in a thin stream while mixing — this prevents the gelatin from setting prematurely on contact with cold cream cheese. Mix on medium for 30 seconds until uniform in color.
Step 7: Fold in whipped cream — In a separate chilled bowl, whip the heavy cream on high speed to stiff peaks — about 3–4 minutes. The cream is ready when it holds a firm point that doesn’t droop. Add one-third of the whipped cream to the watermelon mixture and stir to loosen it, then gently fold in the remaining two-thirds using a rubber spatula in wide, slow arcs. Overmixing deflates the volume that makes the filling light.
Step 8: Fill, smooth, and chill — Pour the filling over the chilled crust. Use an offset spatula to spread it evenly to the edges. Tap the pan gently on the counter 3–4 times to release air bubbles. Cover loosely with plastic wrap and refrigerate for a minimum of 6 hours — overnight produces cleaner slices. Do not freeze to speed up setting; freezing changes the texture of the cream cheese layer.
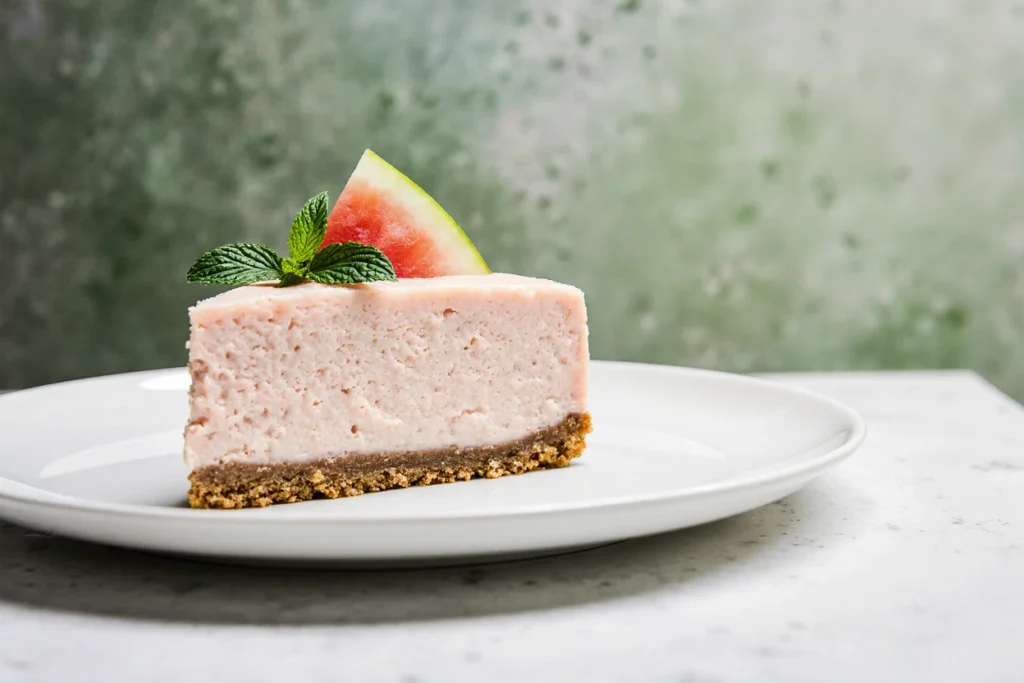
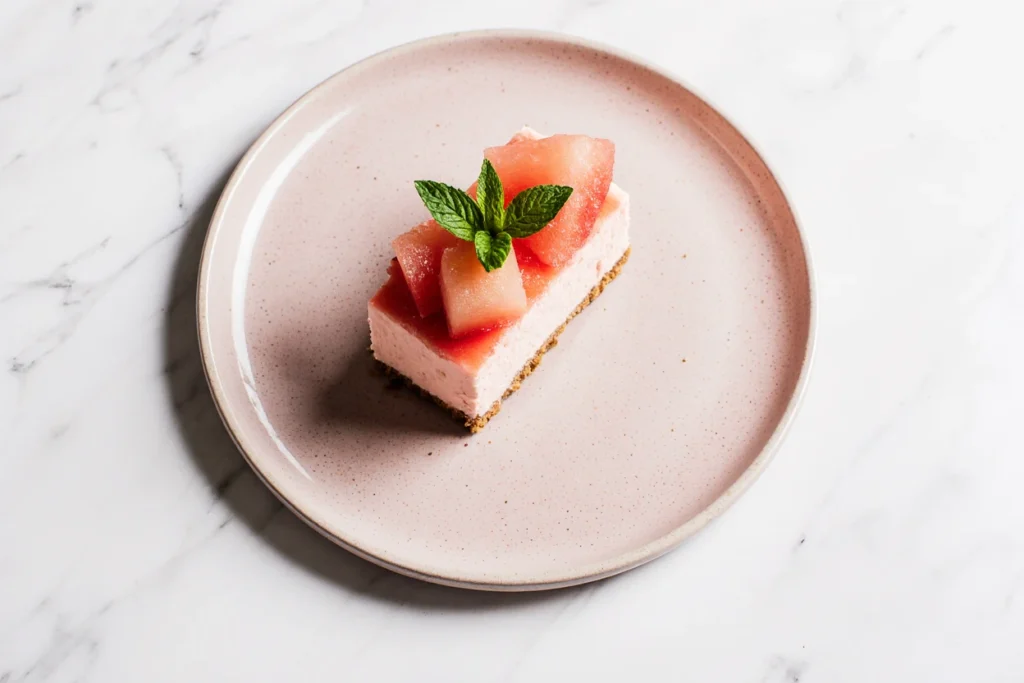
Step 9: Release and top — Run a thin paring knife around the inside edge of the springform pan before releasing the latch. This prevents tearing. Top with fresh watermelon pieces, lime zest, and mint leaves immediately before serving.
Pro Tips for No Bake Watermelon Cheesecake
- Reduce the watermelon purée further than you think necessary — under-reduced purée is the most common reason no bake watermelon cheesecake doesn’t set, even with gelatin.
- Bring cream cheese fully to room temperature (at least 1 hour out of the refrigerator) — cold cream cheese does not incorporate smoothly regardless of mixing time.
- Add the liquid gelatin in a slow, thin stream while the mixer is running — pouring it in all at once creates stringy strands that don’t distribute evenly.
- Use a springform pan, not a pie plate — the removable sides are the only practical way to achieve clean vertical slices from this style of cheesecake.
- If the filling looks slightly loose before chilling, that is expected — gelatin firms during refrigeration, not at room temperature.
Serving Suggestions
Serve chilled slices with a spoonful of salted whipped cream — the salt contrast sharpens the watermelon flavor in the filling. A small glass of sparkling limeade alongside cuts the richness of the cream cheese base. This cheesecake holds well for up to 2 hours at a table in temperatures below 80°F, making it practical for outdoor summer gatherings where dessert sits out while people finish eating.
Storage
Refrigerate leftover slices in an airtight container for up to 3 days — the crust softens slightly by day 3 but the filling stays intact. No bake watermelon cheesecake can be frozen whole or in slices: wrap tightly in plastic wrap followed by foil, freeze for up to 4 weeks, and thaw overnight in the refrigerator before serving. Do not thaw at room temperature — the cream cheese layer becomes watery on the outside before the center is ready.
Health & Nutrition
Approximate per serving (1 of 12 slices): 320 calories, 22g fat, 27g carbohydrates, 5g protein.
- Replace graham cracker crumbs with certified gluten-free graham crackers — no change to texture or flavor, suitable for gluten-intolerant guests.
- Reduce powdered sugar from ¾ cup to ½ cup — the watermelon purée provides natural sweetness; the filling will taste slightly more tangy from the cream cheese.
- Use Neufchâtel cheese in place of full-fat cream cheese — reduces fat by roughly 30% per serving; the filling will be marginally softer but will still set with the gelatin.
- Substitute coconut cream (full-fat, chilled) for heavy whipping cream — works for dairy-reduced versions; whip time increases to 5–6 minutes and the flavor picks up a faint coconut note.
Conclusion
You now have a structured, make-ahead no bake watermelon cheesecake that sets cleanly, slices without collapsing, and carries concentrated watermelon flavor through every layer. If you tried this recipe, leave a rating below — it helps other readers find reliable results.
FAQ
Can I freeze this cheesecake? Yes, no bake watermelon cheesecake freezes well for up to 4 weeks. Wrap in plastic wrap and foil before freezing. Thaw overnight in the refrigerator — not on the counter — to maintain the texture of the cream cheese layer.
What if I don’t have unflavored gelatin? You can substitute agar-agar powder at a 1:1 ratio, but dissolve it in boiling water rather than cold water and allow it to cool before adding. The texture will be slightly firmer and less creamy. Avoid flavored gelatin — it alters both the color and the taste of the filling.
Can I make this ahead of time? Yes. This cheesecake is best made 12–24 hours in advance. Prepare through Step 8, cover, and refrigerate. Add toppings only immediately before serving — watermelon pieces release juice and soften the top of the filling if left overnight.
How do I adjust the sweetness? Reduce the powdered sugar by up to 25% (from ¾ cup to about 9 tablespoons) without affecting the set. If your watermelon is particularly sweet, start at ½ cup and taste the filling before it chills. Adding more sugar after the gelatin is incorporated is not recommended — it doesn’t dissolve properly at that stage.
Why did my filling not set firmly enough? The most likely cause is under-reduced watermelon purée. The purée must cook down to ¾ cup from 4 cups of blended watermelon — if it’s much more than ¾ cup, return it to the saucepan and reduce further. The second cause is gelatin that wasn’t fully dissolved before adding. In a properly made no bake watermelon cheesecake, the filling should hold a clean cut after 6 hours of refrigeration.
Have You Tried Our Recipe?
There are no reviews yet. Be the first one to write one.