
Easy No Bake Tiramisu Cake in a Jar (5 Min Prep)
Most tiramisu cake recipe versions require a stand mixer, precise egg tempering, or at least 40 minutes of active work before the dish even hits the fridge. This one skips all of that. Built entirely in individual jars with no heat, no baking, and no whipping equipment, it delivers the same layered structure — espresso-soaked ladyfingers, mascarpone cream, cocoa dusting — in under five minutes of hands-on prep.
What separates this tiramisu cake recipe from shortcuts that cut corners is the mascarpone-to-whipped cream ratio. Too much cream makes the filling airy and forgettable; this version keeps it dense enough to hold its shape between the ladyfinger layers once chilled. If you’re working without a hand mixer or need a make-ahead dessert for a crowd, the jar format makes this the most practical version of a tiramisu cake recipe you’ll find.
One thing you’ll notice when you open the jars after chilling: the ladyfinger layer near the bottom becomes almost pudding-like — not soggy, just deeply soft. That transformation happens in the first two hours and is exactly what you want.
Table of Contents
Quick Recipe Facts
- Prep Time: 5 minutes
- Cook Time: 0 minutes
- Chill Time: 2–4 hours (minimum)
- Total Time: 2 hours 5 minutes
- Servings: 4 jars
- Difficulty: Beginner
- Calories: ~340 per jar
Ingredients for Tiramisu Cake Recipe
These quantities make 4 individual jars (8 oz / 250ml each). For an easy tiramisu jar recipe, no component needs cooking — everything assembles cold.
Mascarpone Cream Layer:
- 8 oz (225g) mascarpone cheese, cold
- ½ cup (120ml) heavy whipping cream, cold
- 3 tablespoons powdered sugar
- 1 teaspoon pure vanilla extract
Espresso Layer:
- ½ cup (120ml) brewed espresso or strong coffee, cooled completely
- 1 tablespoon coffee liqueur (optional — omit for alcohol-free)
Base & Topping:
- 14–16 ladyfinger biscuits (Savoiardi)
- 2 tablespoons unsweetened cocoa powder
For a no-egg, individual tiramisu jars no bake version, this mascarpone base holds firm without any raw yolk component — the cold heavy cream gives it enough structure once chilled.
How to Make Individual Tiramisu Jars No Bake
These steps follow in sequence. Don’t skip the chilling time — the texture changes significantly between the 1-hour and 4-hour mark.
- Cool your espresso completely before starting — hot or warm espresso turns ladyfingers into mush instantly rather than the gradual, even softening you want. Brew it ahead and refrigerate for 20 minutes if needed.
- Combine mascarpone, powdered sugar, and vanilla in a bowl — stir with a spatula until smooth and uniform. Don’t use a whisk at this stage; you’re not incorporating air yet.
- Add cold heavy cream to the mascarpone mixture and beat with a hand mixer on medium for 60–90 seconds — stop when the mixture holds soft peaks. It will look slightly stiffer than whipped cream but still spoonable. If you overbeat it past this point, the texture becomes grainy and too stiff to layer cleanly.
- Dip each ladyfinger into the espresso for 1–2 seconds per side — no longer. The biscuit should feel damp but still hold its shape in your hand. If it bends or slips apart, it absorbed too much liquid.
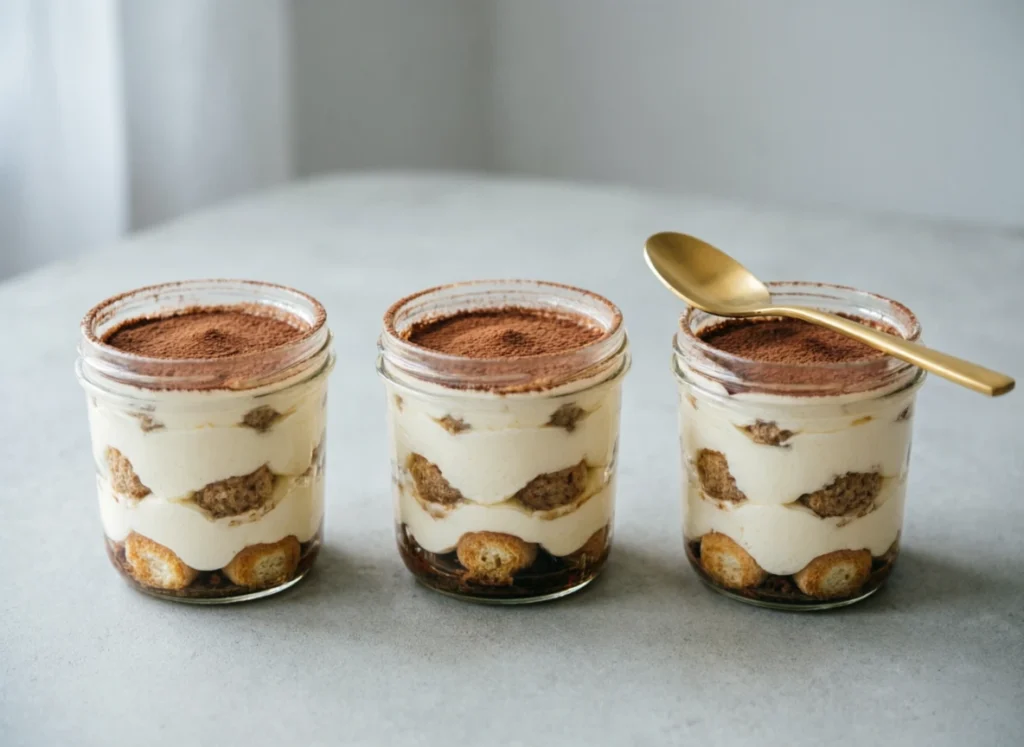
- Break one dipped ladyfinger in half and press it into the bottom of each jar — for 8 oz jars, roughly 1–1.5 ladyfingers fit comfortably per layer without forcing.
- Spoon a generous layer of mascarpone cream over the ladyfinger base — approximately 3 tablespoons per jar, smoothed flat with the back of the spoon.
- Repeat with a second ladyfinger layer, then finish with the remaining mascarpone cream — the cream should come nearly to the rim of the jar to allow for a clean cocoa dusting on top.
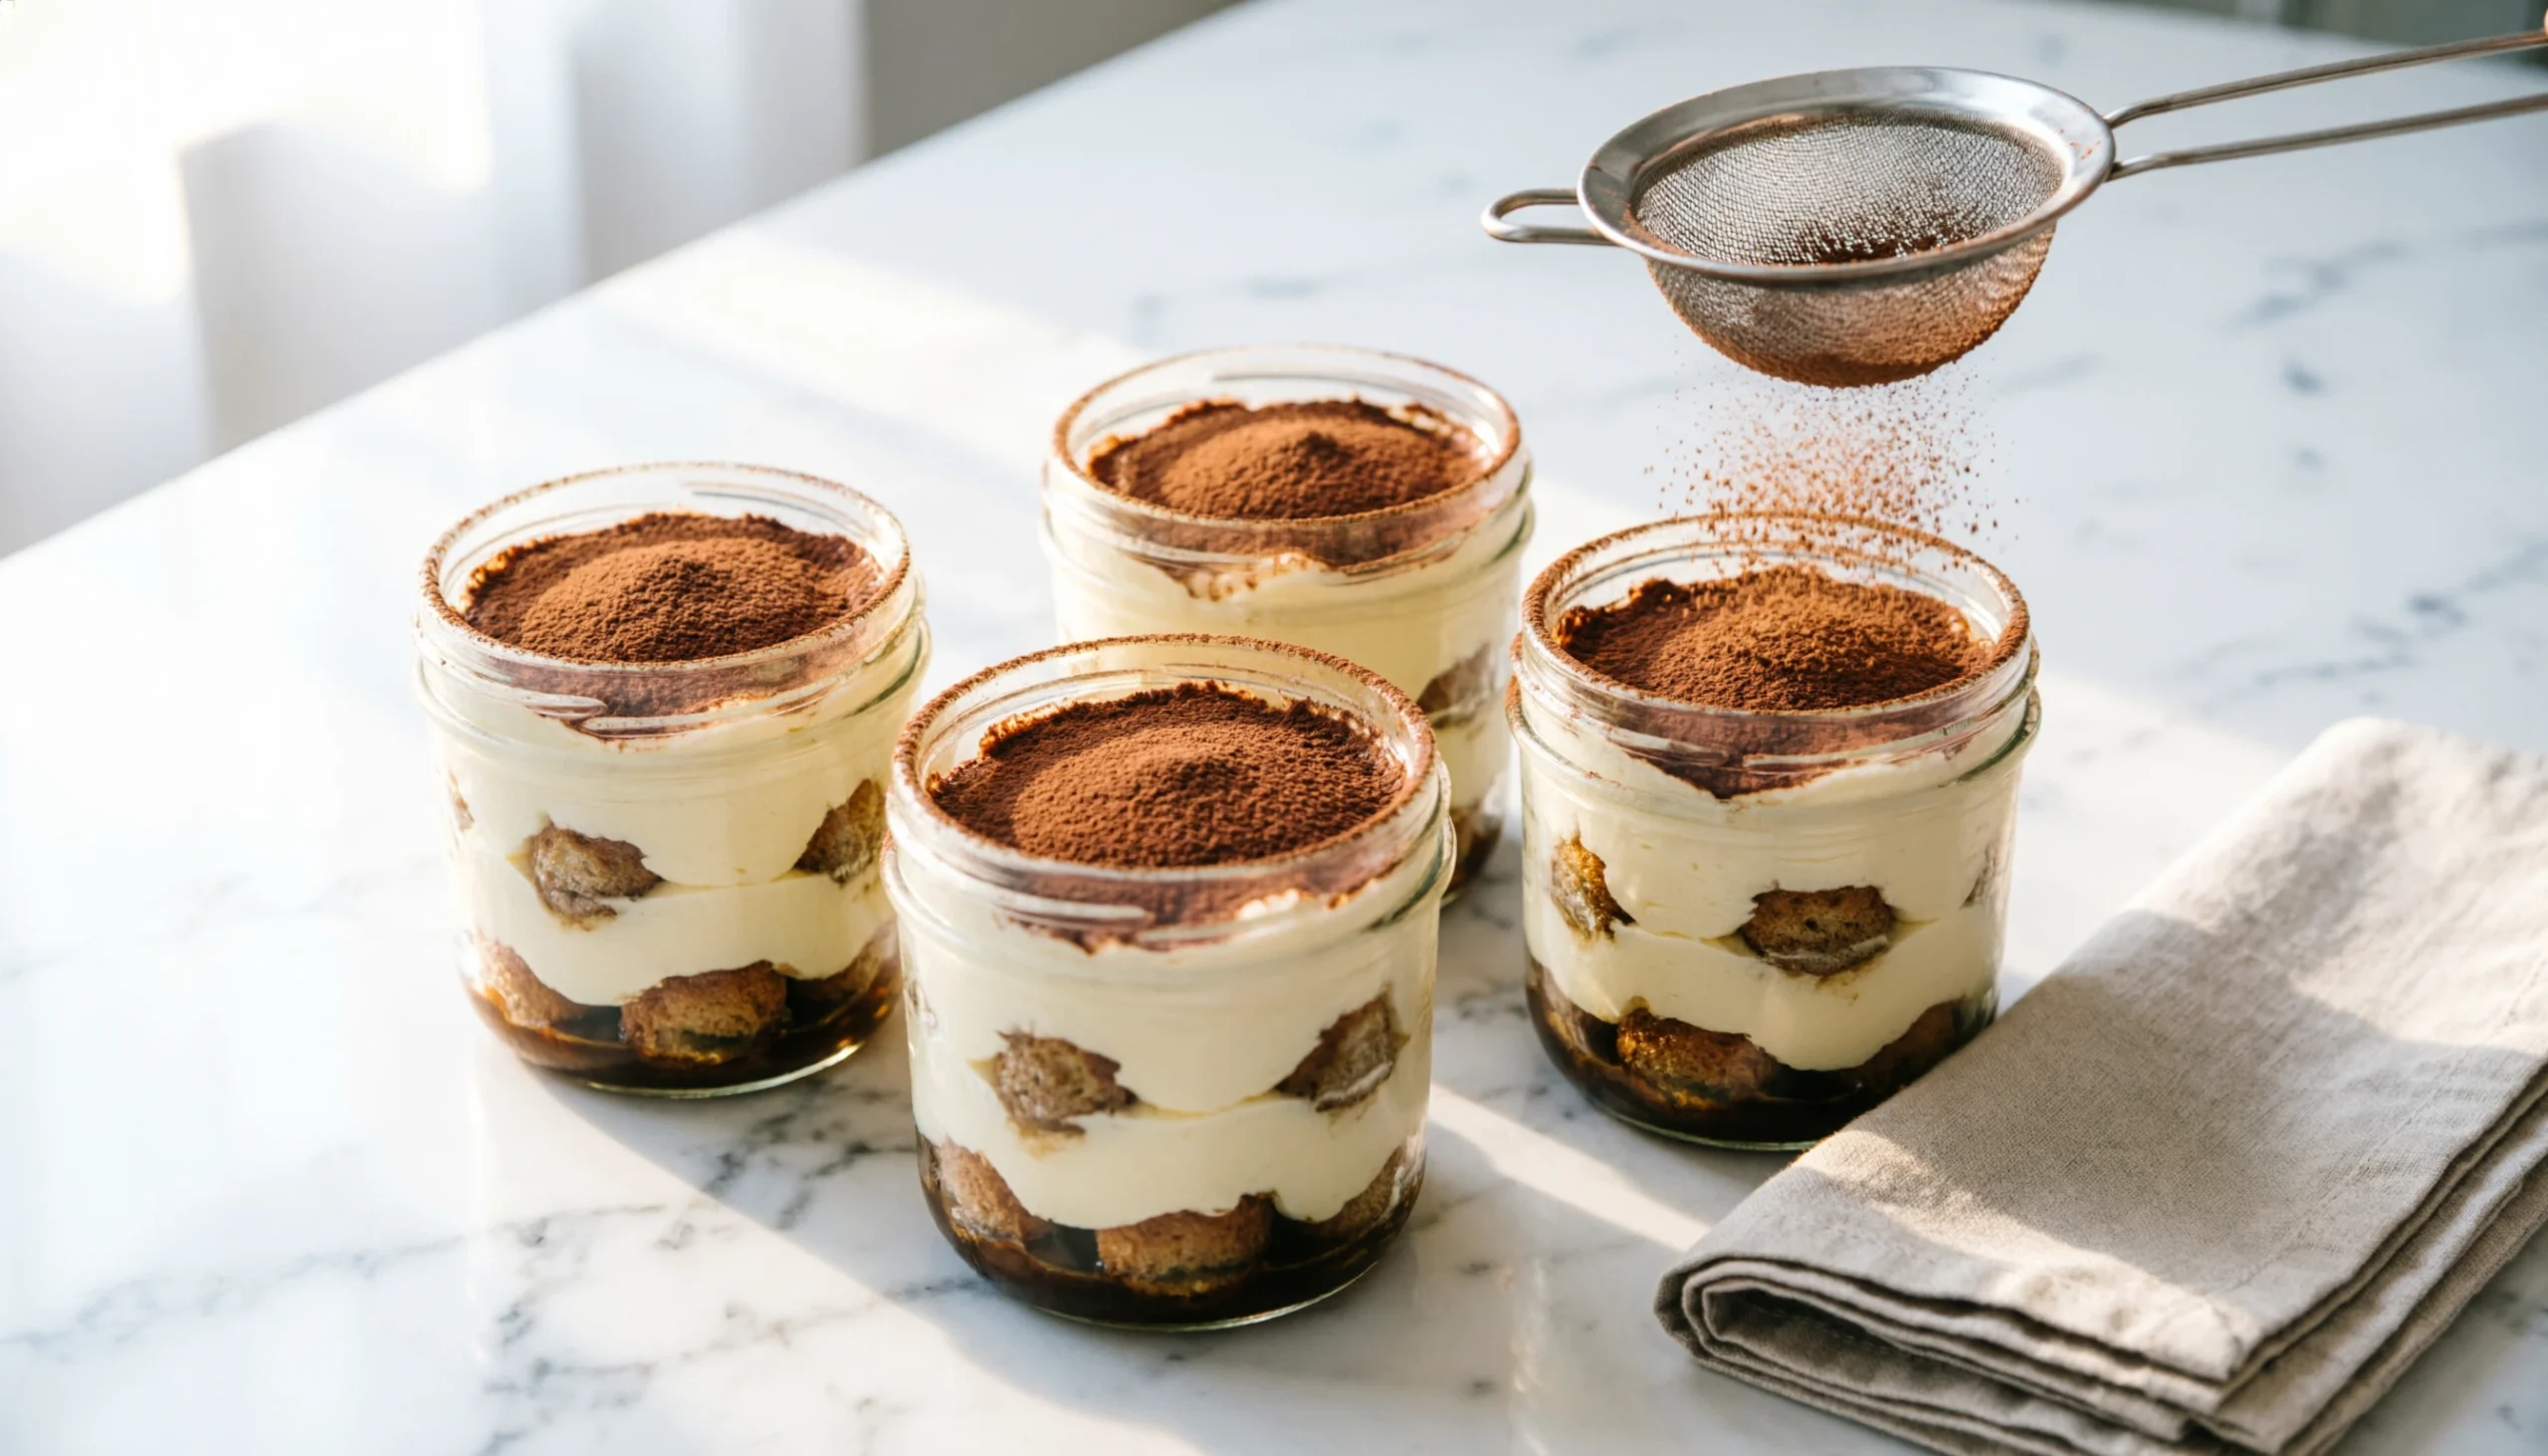
- Dust cocoa powder through a fine sieve over each jar — tap the sieve gently for an even, thin coating. A heavy cocoa layer turns bitter; a thin one blooms into the cream as it chills.
- Cover jars with lids or plastic wrap and refrigerate for a minimum of 2 hours — 4 hours gives the ladyfinger layers time to fully hydrate and the mascarpone to set. The texture at 2 hours is still slightly firm at the center of the cream; at 4 hours it’s uniform all the way through.
Pro Tips for Easy Tiramisu Jar Recipe
- Use cold mascarpone directly from the refrigerator — room-temperature mascarpone breaks when you add the cream, turning the filling oily and grainy instead of smooth. This tiramisu cake recipe depends on the cold temperature to hold emulsification.
- Don’t over-soak the ladyfingers — the 1–2 second rule is firm. The biscuits continue absorbing moisture from the cream layer during chilling, so what feels under-soaked at assembly is correct.
- Espresso, not regular drip coffee — drip coffee is too watery and dilutes the flavor without adding enough bitterness to balance the sweet mascarpone. If you don’t have a machine, two teaspoons of instant espresso powder dissolved in ½ cup hot water works.
- Make these the night before if possible — the 8-hour overnight chill produces noticeably better texture and flavor than the minimum 2-hour version. The layers meld together properly at that point.
- Dust cocoa at the last moment before serving if you’re making these days ahead — cocoa absorbs moisture from the cream and darkens significantly after 24 hours in the fridge.
Serving Suggestions
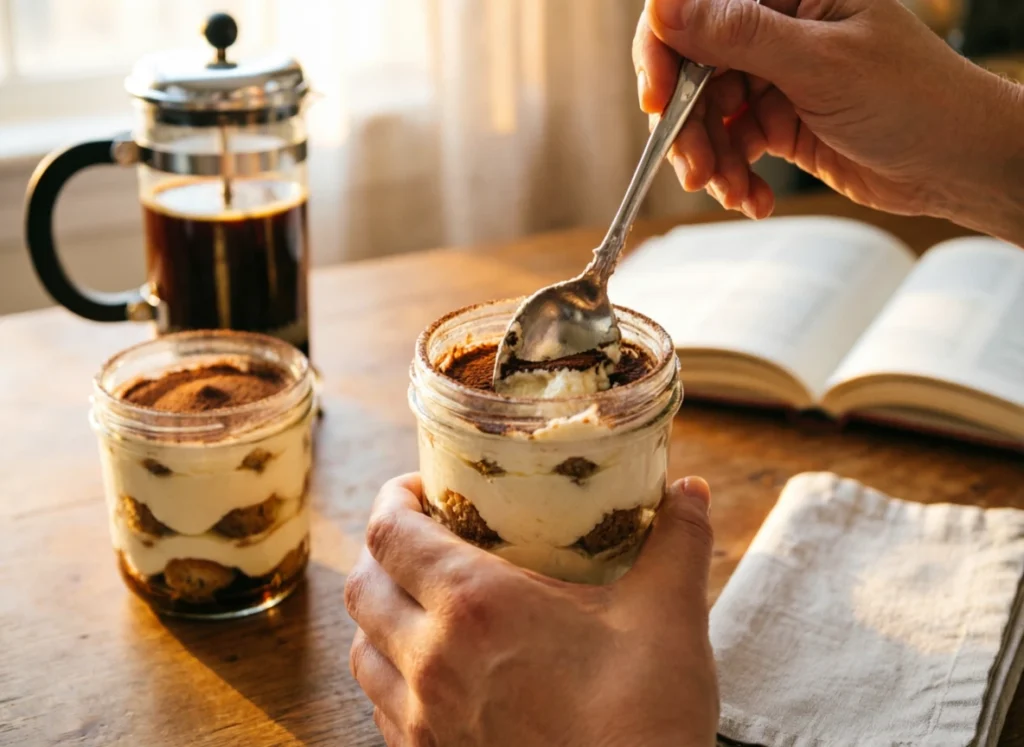
After dinner, straight from the jar with a long-handled spoon — the individual format means no slicing or plating, which makes it a low-effort option for dinner parties where cleanup matters.
With a small glass of cold brew or black coffee on the side — the bitterness mirrors the espresso inside the jar and keeps the richness in check across the full dessert.
For a summer version, serve the jars set inside a small bowl of ice — the contrast between the cold cream and the espresso layer is more pronounced when the jars are kept just above freezing before serving.
Storage
Refrigerator: Covered jars keep for up to 3 days. The ladyfinger texture continues softening — by day 3, the distinction between the cream and biscuit layers is nearly gone, more like a unified mousse. Some prefer it at that stage; others prefer day 1.
This tiramisu cake recipe does not freeze well — mascarpone separates when frozen and thawed, producing a watery, grainy texture that cannot be corrected. Keep these refrigerated only.
Do not store at room temperature — mascarpone is a high-fat dairy product and spoils within 2 hours outside the fridge.
Health & Nutrition
Approximate per jar (1 serving): ~340 calories, 25g fat, 24g carbohydrates, 6g protein
- Swap mascarpone for full-fat Greek yogurt blended with 2 tablespoons cream cheese — reduces calories by approximately 80 per jar and fat by 10g, with a slightly tangier flavor and softer set
- Reduce powdered sugar from 3 tablespoons to 1.5 tablespoons — the espresso bitterness compensates; texture is unaffected
- Use decaffeinated espresso — no change in texture or flavor, suitable for caffeine-sensitive individuals or children
You Now Have a Tiramisu Cake Recipe That Requires No Oven
This tiramisu cake recipe produces four complete, individual-portioned desserts from five minutes of prep and ingredients that require no cooking. Rate the recipe below or share a photo of your jars — it helps other readers find it.
Related recipe worth trying: No Bake Cheesecake Cups — same no-oven format, mascarpone-based filling, and make-ahead structure, with a biscuit crumb base instead of ladyfingers.
FAQ
Q: Can I freeze this tiramisu cake recipe? A: No. This tiramisu cake recipe does not freeze well — mascarpone separates when frozen and the texture becomes grainy and watery after thawing. Refrigerate only, for up to 3 days.
Q: What if I don’t have ladyfinger biscuits? A: Thin shortbread cookies or plain digestive biscuits work as a substitute. They absorb the espresso slightly faster — reduce soaking time to 1 second per side. The texture will be less airy than the original.
Q: Can I make this tiramisu cake recipe ahead of time? A: Yes — these are better made the night before. The 8-hour chill produces a more cohesive texture than the 2-hour minimum. Assemble fully, cover, and refrigerate. Add the cocoa dusting no more than 1 hour before serving.
Q: How do I adjust sweetness? A: Reduce powdered sugar from 3 tablespoons to 1.5 tablespoons. The espresso layer provides enough natural bitterness to balance the reduction; the mascarpone cream consistency is not affected.
Q: Can I make this without coffee or espresso? A: Yes — replace the espresso with warm whole milk for a caffeine-free version. Flavor depth drops significantly without the coffee bitterness, so increase vanilla extract to 1.5 teaspoons to compensate. The texture is identical.
Have You Tried Our Recipe?
There are no reviews yet. Be the first one to write one.